

“In anything at all, perfection is finally attained not when there is no longer anything to add, but when there is no longer anything to take away, when a body has been stripped down to its nakedness.”
The must have plugins for music production are one tool per job: an EQ, a compressor, a reverb and a delay, a saturator, a synth and a couple of meters, plus a vocal tuner if you record vocals. FL Studio’s stock plugins cover the first six, so start there, add free picks like TDR Nova, OTT, Valhalla Supermassive, Vital and MAutoPitch, and only pay when a stock tool holds you back.
Plugin folders fill up fast. A sale email here, a “must-have” video there, and a year later you own hundreds of plugins and still haven’t finished a song.
Mix Elite’s free 4.5-hour FL Studio course works the other way. It starts with the plugins that come with FL Studio and only swaps in a better one where it makes a real difference, like a better synth. This guide follows the same idea: sorted by job, with the stock plugin first, then the best free pick, then the paid upgrade worth buying. Every price was checked in October 2026, on the maker’s own site wherever it shows one.
Table of Contents
What are the must have plugins for music production?
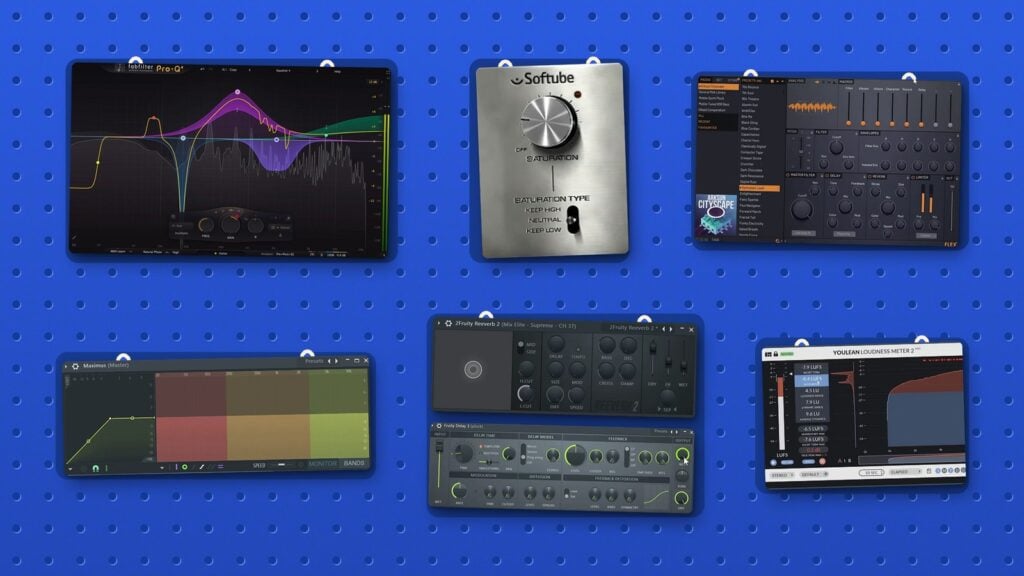
You need one plugin for each of six jobs: EQ, compression, reverb and delay, saturation, a synth, and a couple of meters. FL Studio’s stock plugins cover all six, and the free add-ons worth installing first are TDR Nova, OTT, Valhalla Supermassive, Softube Saturation Knob, Vital and Youlean Loudness Meter 2.
A plugin is an add-on that runs inside your DAW, the app you make music in, like FL Studio. Instrument plugins make sounds. Effect plugins change sounds. Almost everything in a finished song comes from six jobs:
- EQ turns frequencies up or down, so sounds stop fighting.
- Compression evens out loud and quiet parts.
- Reverb and delay put sounds in a space and add echoes.
- Saturation adds warmth, grit and loudness.
- Synths create the sounds in the first place.
- Utility plugins measure loudness and frequencies, or hold your own chains.
You need one good plugin for each job, not ten. Max, the founder of Mix Elite, says it plainly in Mix Elite’s free 4.5-hour FL Studio course: “Don’t get me wrong, you’re just starting out, there’s no need to install anything extra if you don’t want to, but I want to help you get better fast, and better starts with choosing better instruments.”
That’s the plan below: the must-have VST plugins, one job at a time. If you also want the free picks for mixing in one place, see our list of the best free mixing plugins.
One more thing before the list. Plugins come in formats, and your DAW decides which ones it can load. VST and VST3 are the common ones on Windows and Mac. Macs also use AU (Audio Units), Pro Tools uses AAX, and CLAP is a newer format. Image-Line’s plugin standards page says FL Studio runs VST, VST3 and CLAP plugins on Windows, and AU plugins too on a Mac. So if a plugin’s page lists VST3, it works in FL Studio on both.
EQ plugins: the one you use on every track
EQ is the plugin you’ll open most. You use it to cut the mud out of a bass, the harshness out of a hi-hat and the rumble under everything. Our best EQ plugins guide compares more of them.
1. Fruity Parametric EQ 2 (FL Studio)
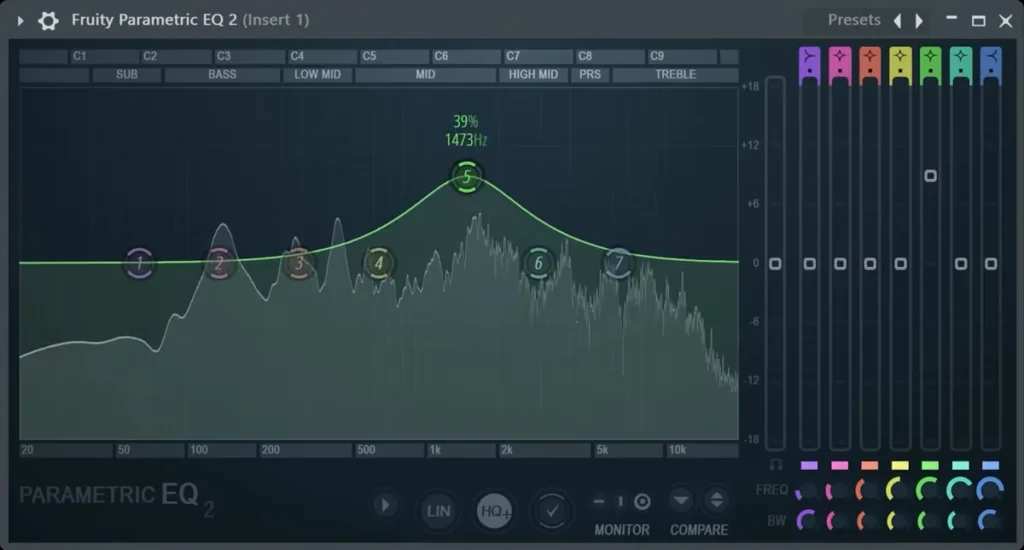
Fruity Parametric EQ 2 comes with every edition of FL Studio. It has seven bands, a live frequency display, and the shapes you need: low cut, high cut, shelves and bells. Mix Elite’s EQ lesson teaches every move on it, from cutting everything a sound doesn’t need to keeping the sub for one sound only.
Start here. Once you can hear what a small cut in the low mids does to a muddy pad, you know more than any new EQ can teach you.
2. TDR Nova (Tokyo Dawn Labs)
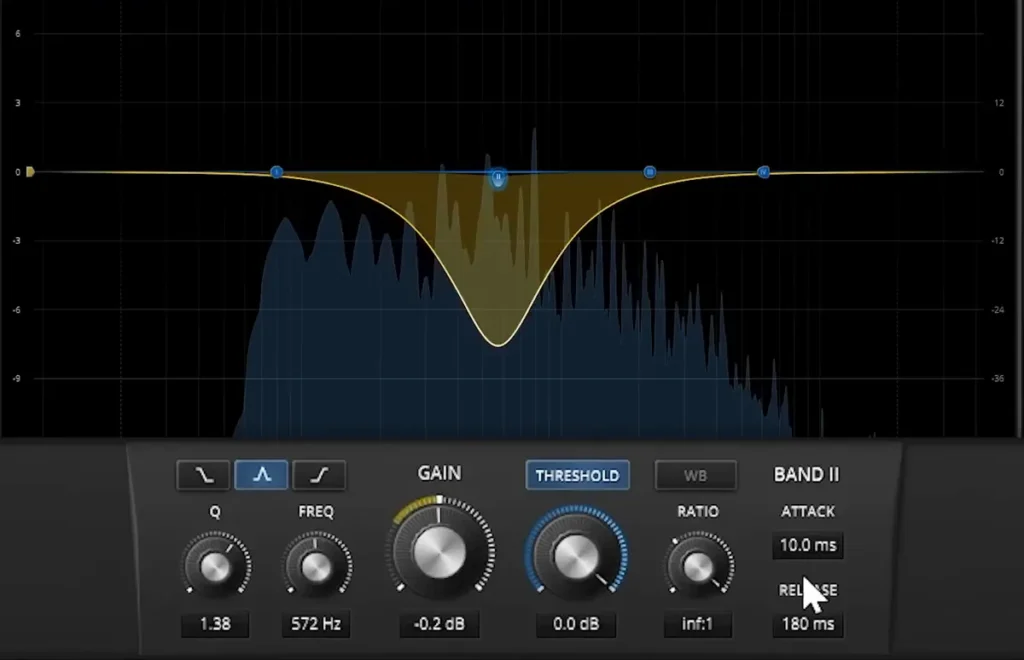
TDR Nova is a free dynamic EQ: a band only cuts or boosts when that frequency gets too loud. The stock EQ stays the everyday tool, but Mix Elite’s free plugins video makes the case for adding Nova anyway, because it’s a dynamic EQ. It fixes a note that only rings out now and then, without thinning the whole sound.
Version 2.2.2 is a direct download with no account, for Windows and Mac (native on Apple Silicon), as VST2, VST3, AU and AAX. A paid GE edition (€60) adds more bands.
3. Pro-Q 4 (FabFilter)
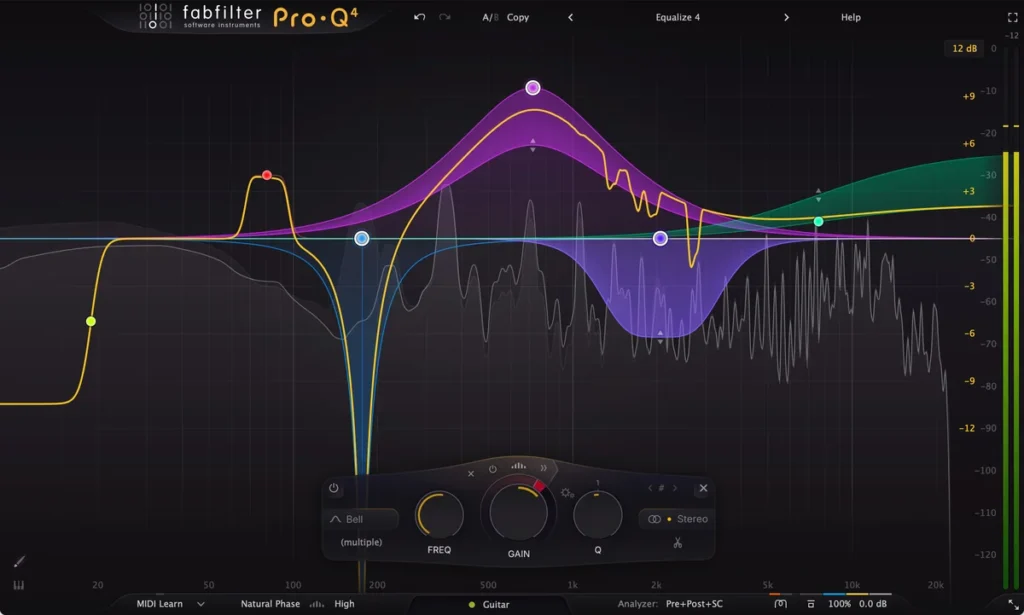
Pro-Q 4 is the paid upgrade. You click right on the display to add bands, any band can be dynamic, and EQ Match copies the tone of one track onto another. It’s $199 (€169) after a 30-day free trial, for Windows and Mac, as VST, VST3, AU, AAX and CLAP.
You don’t need it to start. Buy it when you EQ every day and want to work faster.
Compressor plugins: keep the loud parts in check
A compressor turns the loudest moments down so the whole sound sits steady. It’s what makes a vocal easy to follow and drums sound punchy. For more picks, our list of the best compressor plugins compares 12 of them, free and paid, including two Universal Audio classics that are now free.
4. Fruity Limiter (FL Studio)
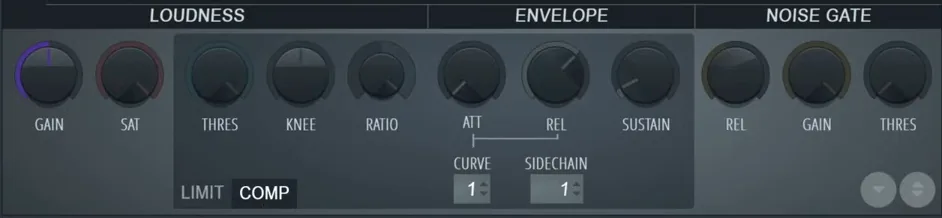
Fruity Limiter is FL Studio’s compressor too: click COMP and it switches from limiter to compressor. It’s in every edition. In Mix Elite’s trap mixing tutorial, it handles sidechain ducking: the kick turns the 808 and the melody bus down for a split second each time it hits, so the drums punch through.
5. Maximus (FL Studio)
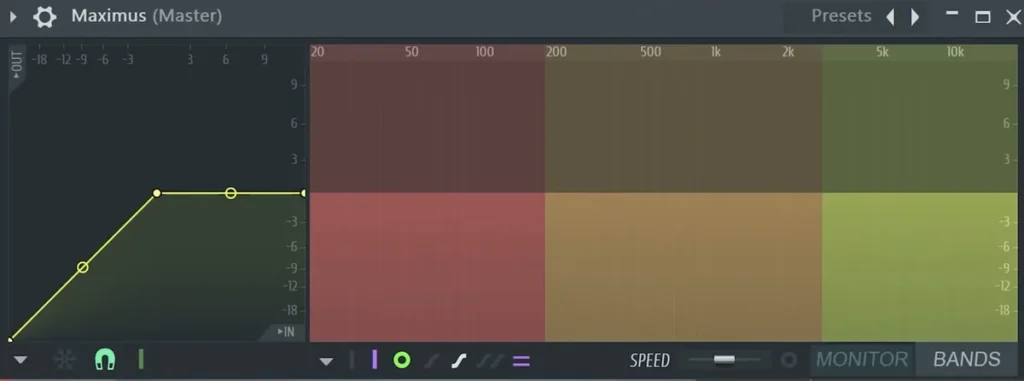
Maximus splits the sound into low, mid and high bands and compresses each one on its own. Mix Elite’s Maximus tutorial calls it probably the most powerful single stock plugin in FL Studio, and uses it to master songs and even as a de-esser on vocals.
The catch: Image-Line’s edition comparison lists Maximus only in Producer Edition and up, not the Fruity Edition.
6. OTT (Xfer Records)
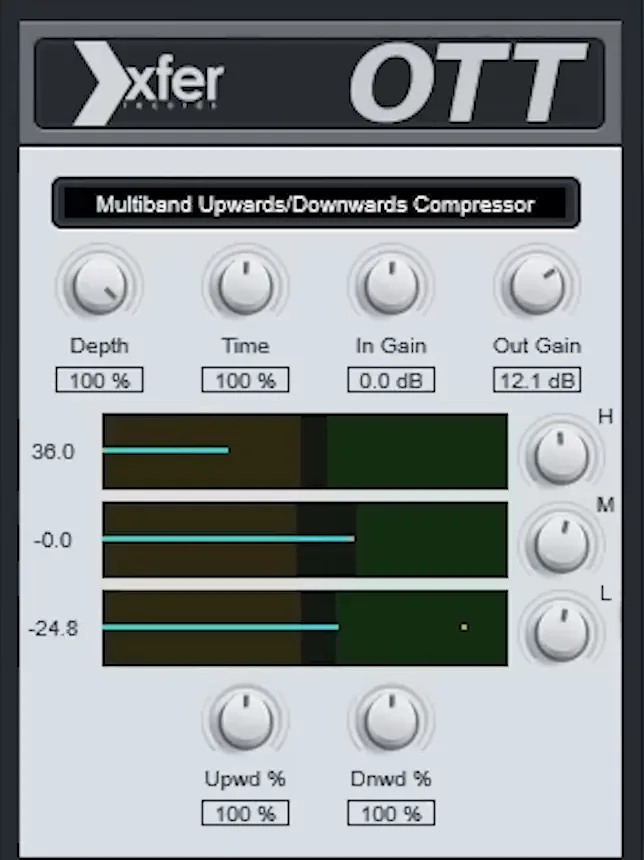
OTT is a free multiband compressor from Xfer Records that pushes up the quiet details and squashes the loud ones. Turned all the way up it’s a wild effect. In small amounts it adds shine. On the master bus in Mix Elite’s trap mixing tutorial, Max says: “I love to apply OTT to mimic some multiband compression, about 10 to 15%.”
Version 1.37 is a direct download with no account, for Windows and Mac, as VST, VST3, AU (Mac) and AAX. If you want a paid compressor later, FabFilter’s Pro-C 3 ($199) has 14 compression styles in one plugin, but Fruity Limiter covers the basics.
7. Teletronix LA-2A Tube Compressor (Universal Audio)
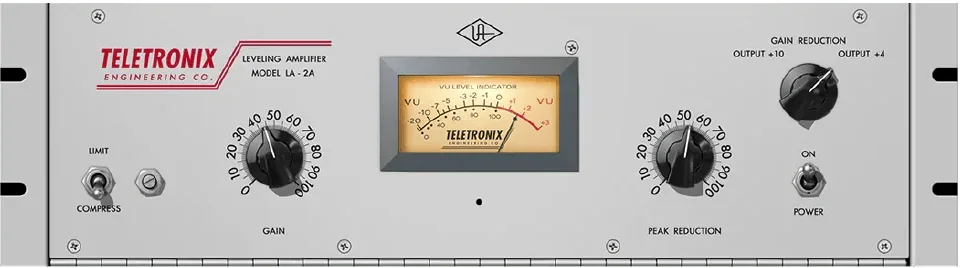
The Teletronix LA-2A Tube Compressor is Universal Audio’s copy of the late-1960s “Silver” LA-2A, the tube compressor UA says is still the first-choice vocal compressor in pro studios. It has two big knobs: Peak Reduction sets how hard it compresses, and Gain brings the volume back up. It reacts slowly and smoothly, so a vocal or a bass line sits steady without sounding squashed.
And it costs nothing. It comes in UA’s free UAD Explore FREE bundle with seven other plugins, no credit card needed. You install it with UA’s free UA Connect app and a free iLok account, and it runs as VST3, AU or AAX on Windows and Mac with no UA hardware. The paid Teletronix LA-2A Leveler Collection, with three models of the hardware, was $49 on sale on October 21, 2026 (list price $149).
Reverb and delay plugins: give each sound a space
Reverb makes a sound feel like it’s in a room or a hall. Delay repeats it as echoes. Both make a mix feel deep instead of flat, and both get muddy fast if you overdo them, so put them on a send and low-cut the reverb so it doesn’t fill up the bass range.
8. Fruity Reeverb 2 (FL Studio)
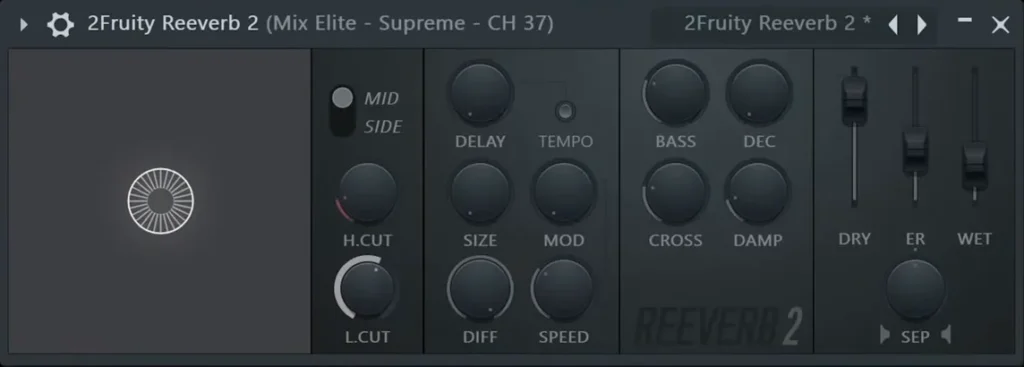
Fruity Reeverb 2 comes with every edition and covers most songs. A trick from the trap mix: put it on a sound with the size all the way up and the shortest decay, at a very low level. That adds a little room under dry drums, so saturation has something to grab.
9. Fruity Delay 3 (FL Studio)
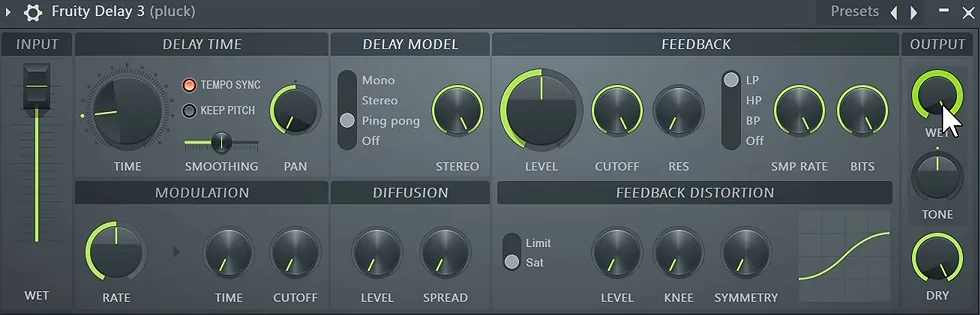
Fruity Delay 3 is the stock delay. The free course calls it the most popular stock delay and sets it up in a few clicks: delay time, the ping pong model so echoes bounce left and right, feedback for how many repeats, and Wet for how loud they are.
10. Supermassive (Valhalla DSP)
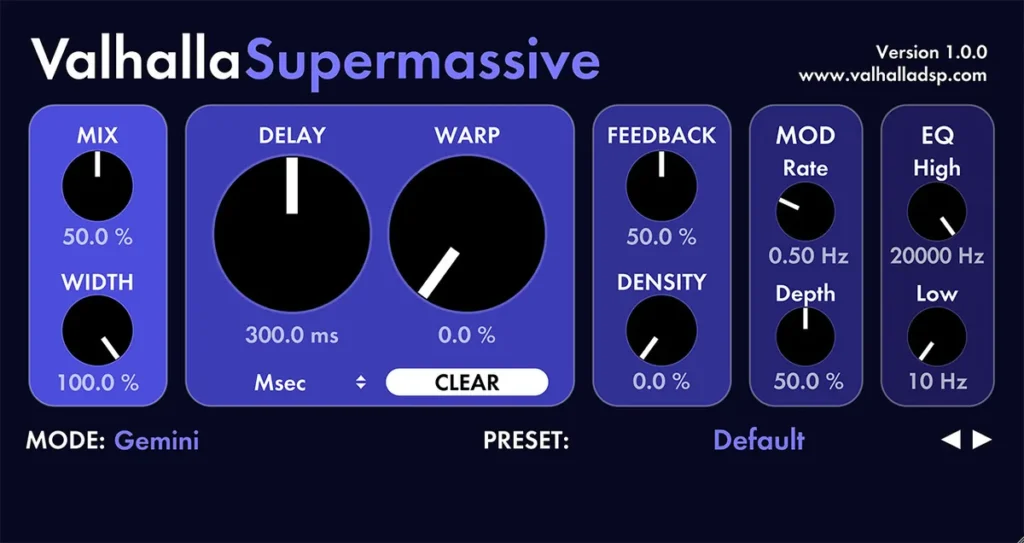
Supermassive is Valhalla DSP’s free reverb and delay, with 22 modes from short echoes to huge, washy spaces. Version 5.0 is a direct download with no account, for Windows and Mac, as VST2, VST3, AU and AAX. Valhalla’s own words: “And it’s free. No strings attached.”
11. VintageVerb (Valhalla DSP)
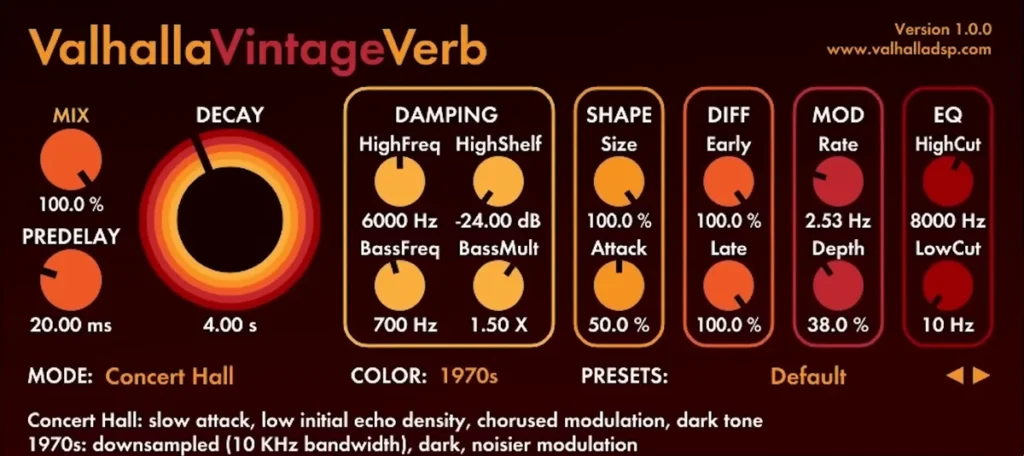
VintageVerb is the paid reverb worth buying first. It’s $50, with 22 reverb modes and three color modes (1970s, 1980s and Now) inspired by classic reverb hardware. Mix Elite’s FL Studio tricks video calls it a high quality reverb. Try the free demo first: it works fully but fades out every 45 seconds.
12. EchoBoy (Soundtoys)
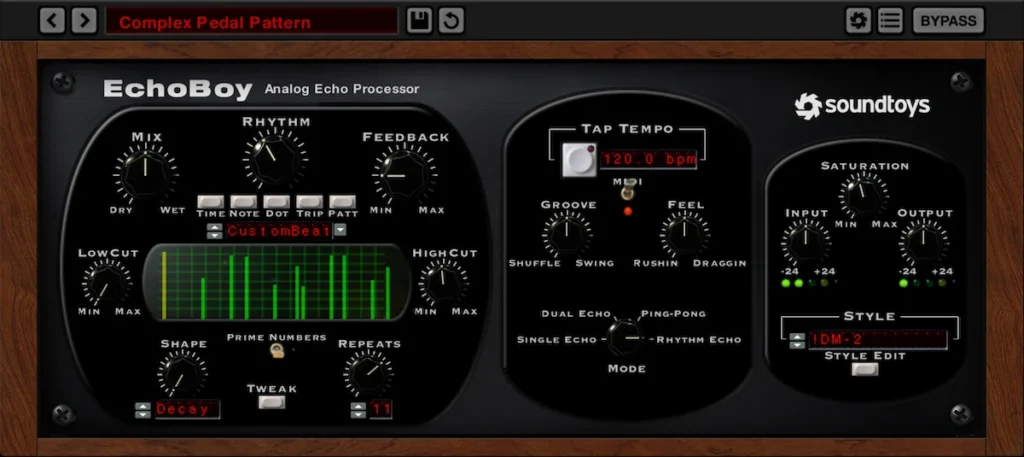
EchoBoy is the paid delay to buy when Fruity Delay 3 starts to sound plain. It has 30 echo styles modeled on vintage gear, like the Echoplex and Space Echo tape delays and the Memory Man pedal, plus controls for saturation and tape wobble. Four modes cover most jobs: single echo, dual echo, ping-pong and rhythm echo.
It’s $199 after a 30-day free trial, or part of the Soundtoys 5 bundle with Decapitator. Version 5.5 runs on Windows 10 or newer and macOS 10.15 or newer, Apple Silicon included, as AAX, VST2, VST3 and AU.
Saturation plugins: add warmth and grit
Saturation adds soft distortion: new harmonics that make a sound thicker, warmer and louder without turning the fader up. The trap mixing tutorial uses it on the drum bus and shows three ways to do it, from stock to paid.
13. Fruity Fast Dist (FL Studio)
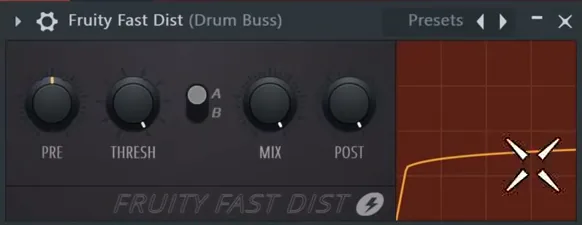
Fruity Fast Dist is the stock option, in every edition. Pre and Thresh set how hard it distorts, the A/B switch picks one of two flavors, Mix blends it with the clean sound, and Post sets the output level. Keep Mix low on a drum bus for grit without crunch.
14. Saturation Knob (Softube)
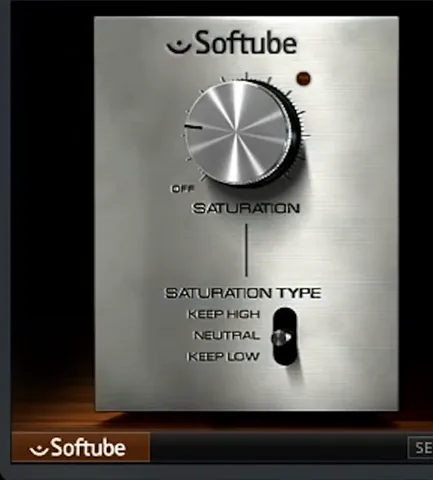
Saturation Knob is Softube’s free one-knob saturator. The trap tutorial names it as the free option. You need a Softube account, the Softube Central app and an iLok account to install it, on Windows 10 and 11 or macOS 14 and newer.
15. Decapitator (Soundtoys)
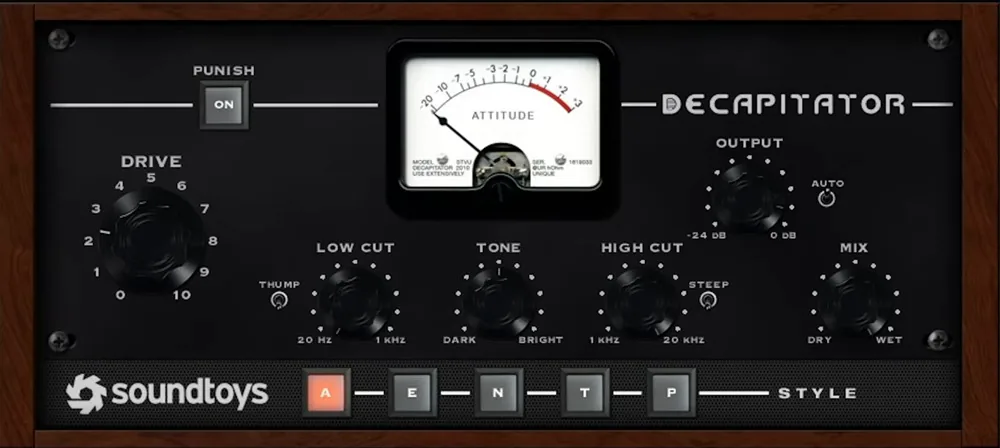
Decapitator is the paid pick on the drum bus in Mix Elite’s trap mix. Max sets Drive around 3, “up until I hear the kick go really, really wild,” and keeps it there. It models five classic hardware saturators and costs $199 after a 30-day trial, or comes in the Soundtoys 5 bundle ($599) with EchoBoy.
Another paid favorite: FabFilter’s Saturn 2 ($149) can saturate just the highs or just the lows.
Synth and sampler plugins: where your sounds come from
Synth plugins make the sounds: basses, leads, pads and plucks. For drums, FL Studio’s own sampler and your sample packs do the job, so a good synth is the first instrument plugin worth thinking about.
Samplers are the other kind of instrument plugin. They play recordings of real instruments, like pianos, strings and choirs. Native Instruments’ free Kontakt 8 Player runs its sampled instruments and the libraries other companies make for it, on Windows 10 or 11 and macOS 14 or newer.
16. FLEX (FL Studio)
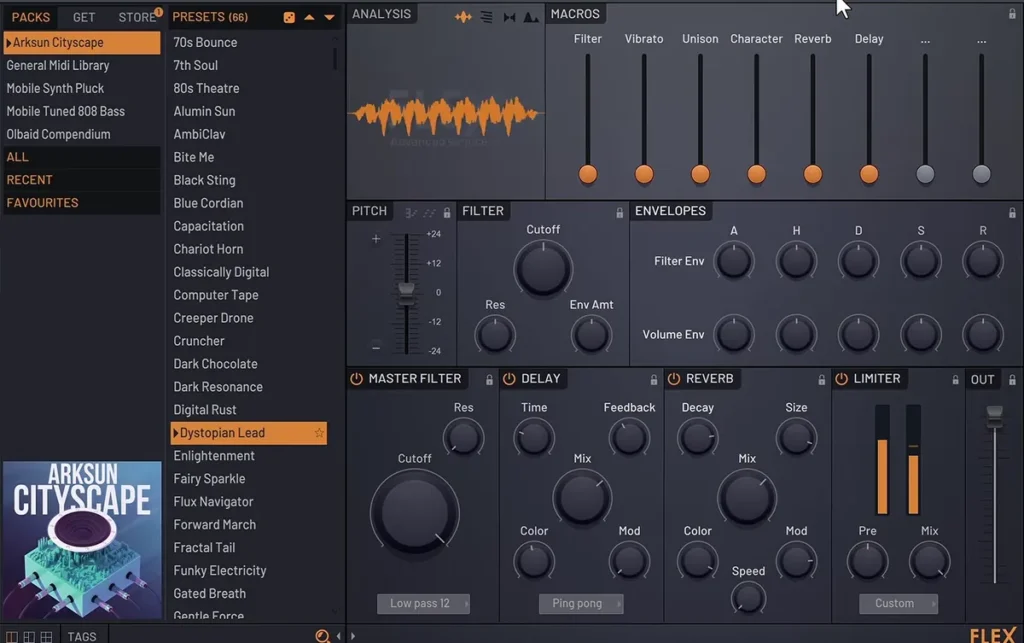
FLEX is FL Studio’s preset synth, in every edition. Mix Elite’s free course opens it on day one: pick a preset from the list and play. The macro sliders along the top change the sound without any synth knowledge.
17. Vital (Vital Audio)
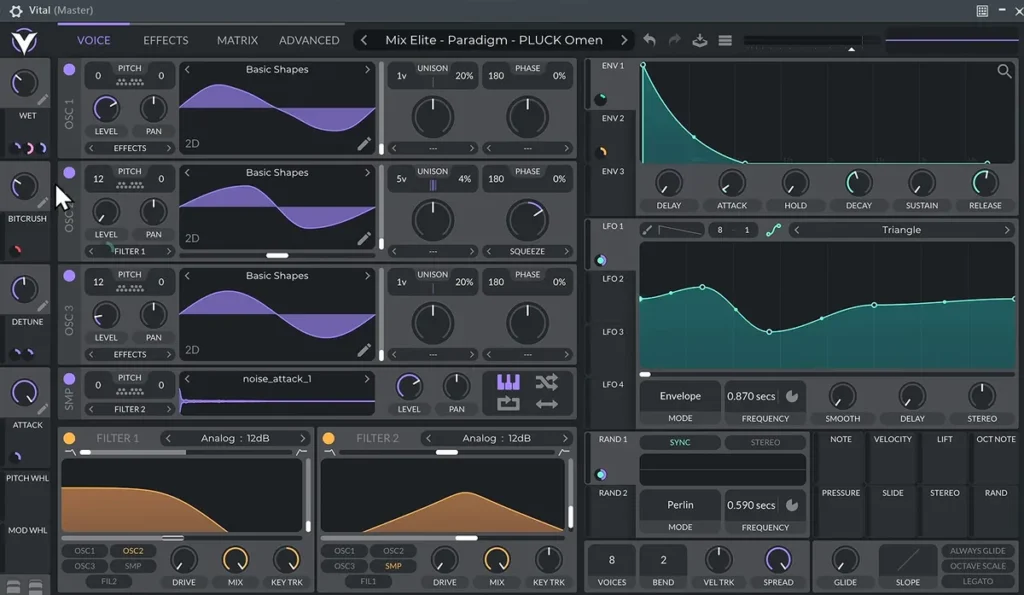
Vital is the free synth the free course installs, so you don’t have to rely on the stock instruments for good sounds. It’s a wavetable synth, the same type as Serum, and the free Basic plan includes 75 presets and 25 wavetables. Paid plans add more. It runs on Windows 10 and newer, macOS 10.15 and newer (Intel or Apple Silicon) and Linux.
18. Serum 2 (Xfer Records)
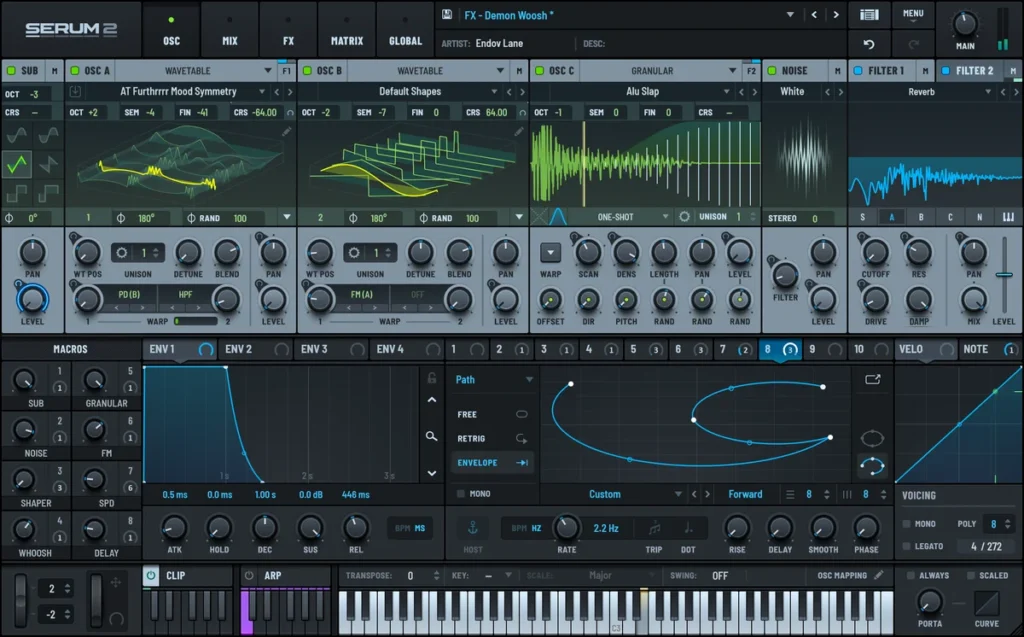
Serum 2 is the new version of the synth Mix Elite’s sound design tutorials use, now with sample, granular and spectral oscillators next to its wavetables. It’s $249 with lifetime free updates, and a free upgrade if you already own Serum 1. There’s a 15-minute demo for Windows and Mac.
Learn Vital first. Most of what you learn carries straight over to Serum.
19. Pigments 7 (Arturia)
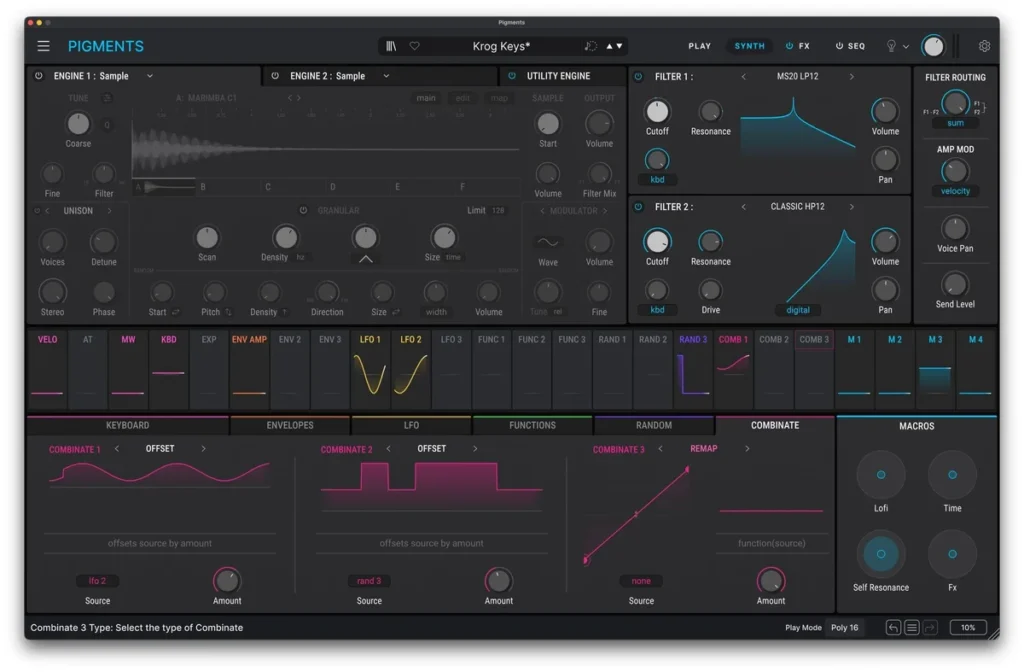
Pigments is Arturia’s all-in-one synth, with six kinds of synthesis in one plugin: virtual analog, wavetable, sample, granular, harmonic and modal. Its color-coded screen shows what each modulator is doing while it moves, which makes a big synth a lot easier to learn.
Pigments 7 costs $199 and comes with more than 1,700 presets. It runs as a standalone app and as VST, AU and AAX, on Windows 10 or newer and macOS 11 or newer. Arturia also gives away a simpler free version called Pigments Play.
20. Kontakt 8 (Native Instruments)
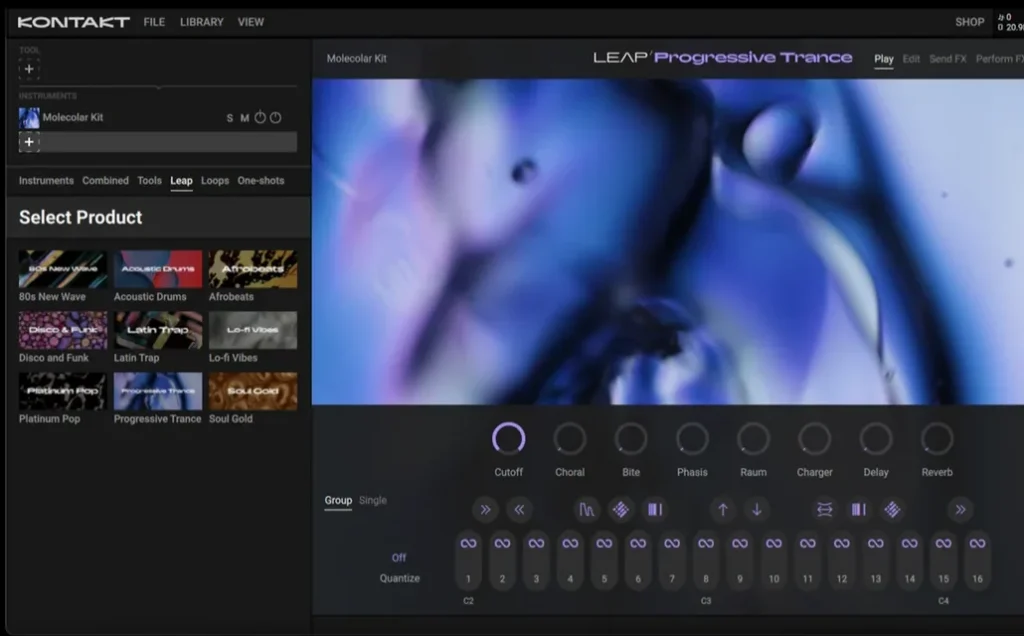
Kontakt 8 is the full version of the sampler behind the free Player above. It comes with a Factory Library of hundreds of sampled instruments, from orchestras to keys, drums and synths, and it opens the many indie libraries that aren’t licensed for the free Player. You can also edit and build instruments, and its Tools help you play chords, phrases and patterns when you’re stuck for an idea.
It’s $299 on Native Instruments’ site. It runs on Windows 10 or 11 and macOS 14 or newer, as a standalone app and as VST3 and AAX, plus AU on a Mac. Start with the free Player, and buy the full version when you want a library the Player can’t open or want to shape the sounds yourself.
Utility plugins: meters and tools for every mix
Utility plugins don’t change the sound you hear. They show you what’s going on, or let you build your own tools. Every mix needs a couple.
21. Patcher (FL Studio)
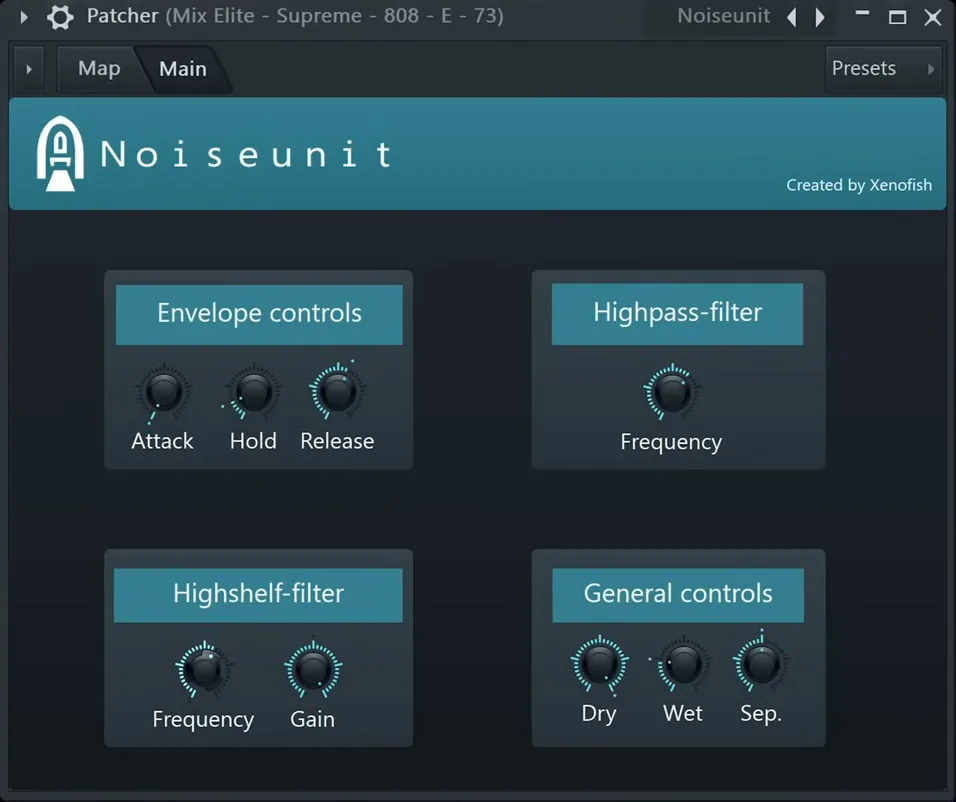
Patcher lets you chain plugins inside one slot and save the whole chain as a preset. It’s in every edition. In the trap mix, a Patcher preset adds noise to the 808. Build a chain once, then drop it on any track.
22. Youlean Loudness Meter 2 (Youlean)
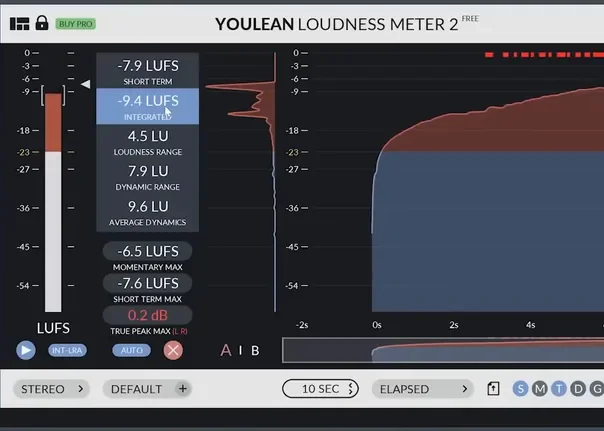
Youlean Loudness Meter 2 shows how loud your song really is in LUFS, the unit streaming apps use. The free course checks the master with it. The free version does everything a beginner needs; Pro ($39 on sale, normally $49) adds streaming presets. Windows 7 or newer and macOS 10.13 or newer.
23. SPAN (Voxengo)
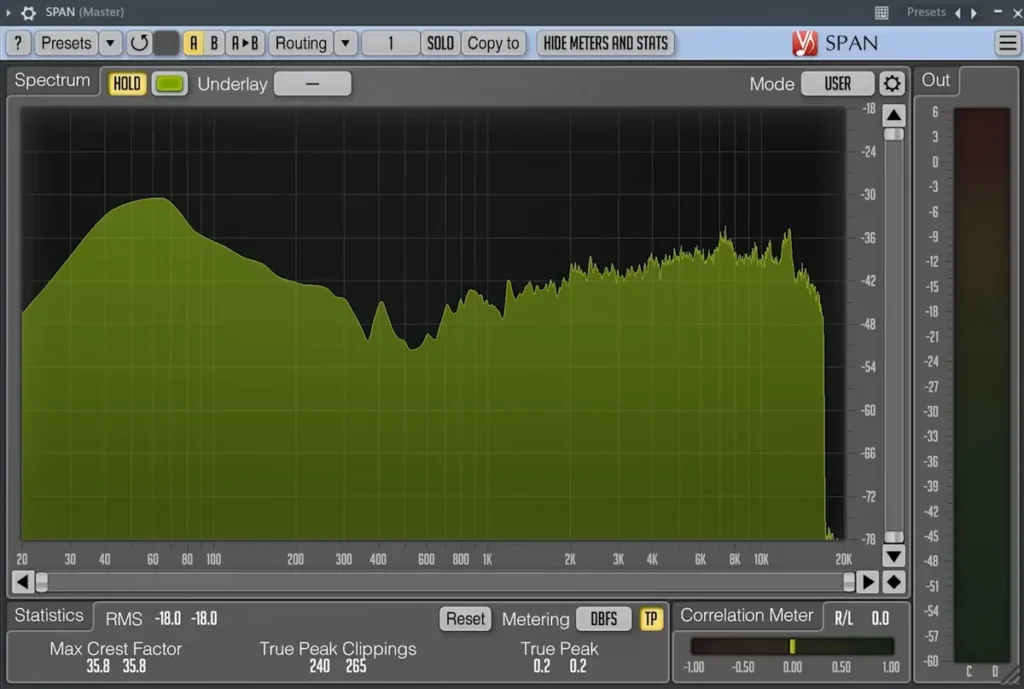
SPAN by Voxengo is a free spectrum analyzer: a live picture of which frequencies are loud. Mix Elite’s free plugins video uses it to compare a mix with a song you like, frequency by frequency. SPAN Plus (€44.65 on Voxengo’s price list, October 12, 2026) adds export and multi-track tools you won’t miss at first.
Mixing and mastering suites: many jobs in one plugin
A suite doesn’t do a new job. It puts several of the jobs above in one window, often with an assistant that listens to your track and suggests a starting point. Treat them as upgrades for later, once you know what each single plugin does.
One of them is for mastering, the very last step. Mastering makes a finished mix louder and more even, so it holds up next to other songs. FL Studio’s Maximus and Fruity Limiter can already do it.
24. Neutron 5 (iZotope)
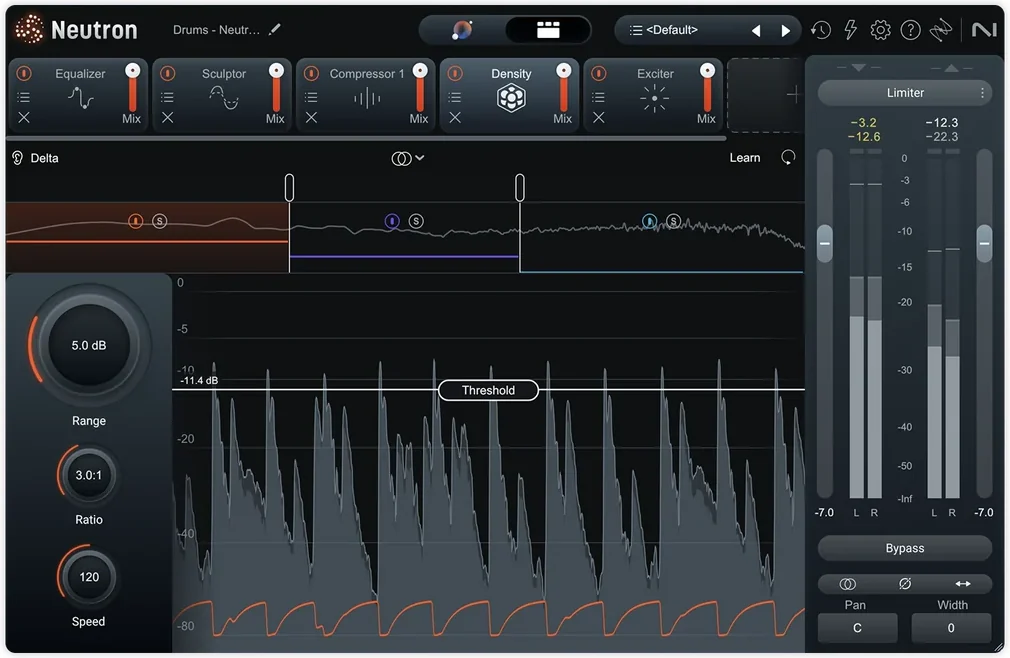
Neutron 5 is iZotope’s all-in-one mixing plugin. It holds ten tools, including an EQ, a compressor, an exciter for saturation, a transient shaper and a clipper, and you can chain them in one window or load each one as its own plugin. Its Mix Assistant listens to a track and builds a starting chain for you to tweak.
It’s $299 on iZotope’s site, and the smaller Neutron 5 Elements is $55. It runs as VST3, AU and AAX on Windows 10 or 11 and macOS 14 or newer, Apple Silicon included. You can also try it free with a trial of iZotope Pro, the $25-a-month subscription that includes it.
25. Virtual Mix Rack 3.0 (Slate Digital)
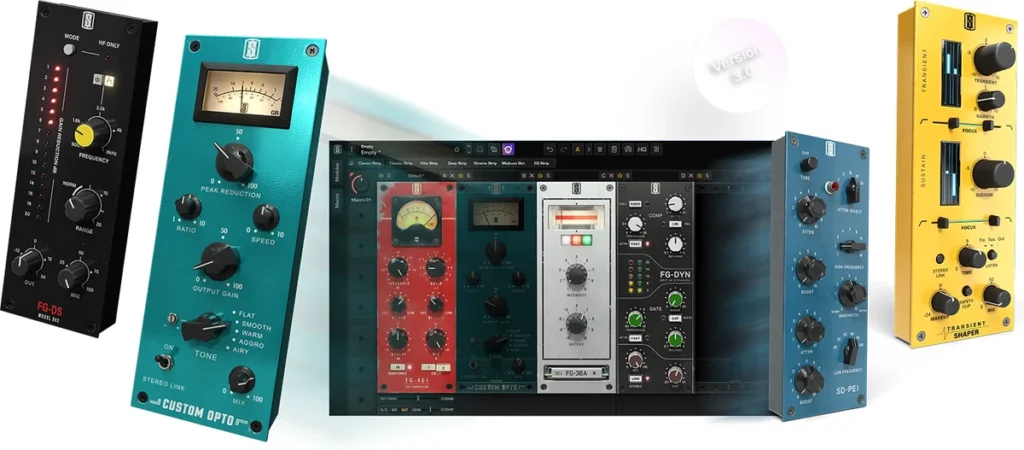
Virtual Mix Rack (VMR) is Slate Digital’s build-your-own channel strip. You drag in modules that copy classic hardware EQs, compressors and saturators, stack them in one rack, and save the chain for any track. VMR 3.0 comes with two EQs (FG-N and FG-S) and two compressors (FG-401 and FG-116), and its presets put the most useful knobs up front as named macro controls.
Slate sells it as part of Complete Access, its subscription of more than 180 plugins, at $19.99 a month or $199.99 a year after a 14-day free trial. On its own, VMR 3.0 is $99 at Sweetwater (October 2026). It runs on Windows and Mac as VST, AU and AAX, and needs a free iLok account.
26. Ozone 12 (iZotope)
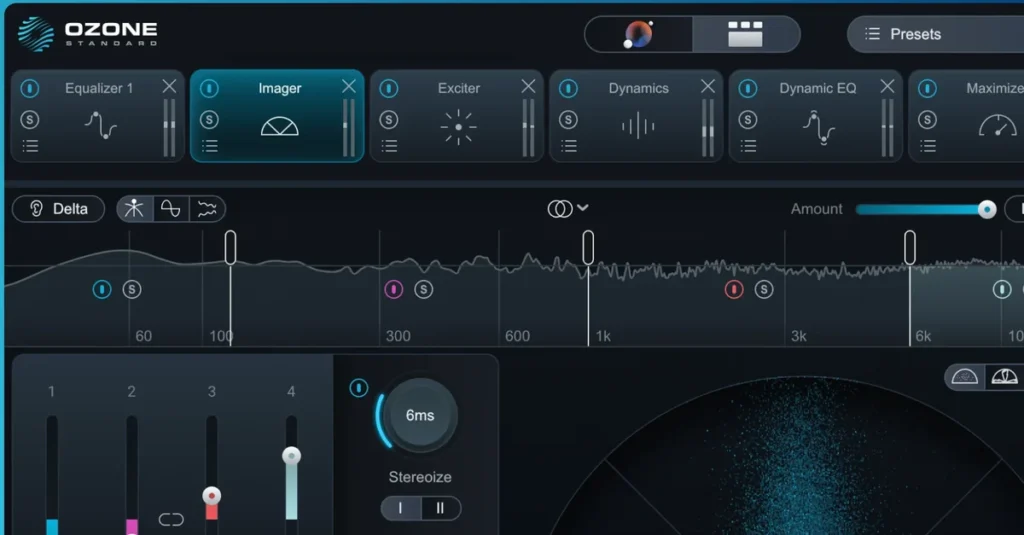
Ozone 12 is iZotope’s mastering suite: EQ, compression, stereo width and the final loudness in one chain. Its Master Assistant listens to your mix and builds a starting master you can adjust. The Standard edition has 14 tools, including Master Rebalance, which turns the vocals, bass or drums up or down inside a finished stereo mix.
Ozone 12 Standard is $219 on iZotope’s site, Advanced is $499 with 20 tools, and Elements, built around the assistant, is $55. It runs as VST3, AU and AAX on Windows 10 or 11 and macOS 14 or newer. Learn to master with Maximus and Fruity Limiter first, so you know what the assistant is doing when you hand it a song.
Which vocal tuning plugin do you need?
For auto-tune style tuning, FL Studio’s Pitcher works in real time and Newtone lets you fix each note by hand, but both come only with the Signature Bundle and the All Plugins Edition. On the other editions, the free MAutoPitch from MeldaProduction does the job, and Antares Auto-Tune and Celemony Melodyne are the best-known paid tools.
Image-Line’s edition comparison lists Pitcher and Newtone in the Signature Bundle and up. MAutoPitch is part of Melda’s free MFreeFXBundle of 38 effects, which you install with Melda’s MPluginManager app and a free Melda account. Set the key and scale, turn Depth up, and lower Speed when you want a softer effect.
Paid tools come later, if ever: Auto-Tune is the name most people know, and Melodyne is built for fixing notes one at a time. Our guide on how to tune vocals walks through the settings step by step, with both quick and natural-sounding tuning.
What VST plugins do professionals use?
Professionals cover the same six jobs, often with stock plugins for the everyday work, plus one or two favorite instruments and a few paid effects for color. Brooks mixes mostly with FL Studio’s stock plugins, and FINNEAS has said Omnisphere is on 99% of his songs.
Brooks, the producer known for his tracks with Martin Garrix and David Guetta, told Image-Line in an artist interview that he uses Spire and Serum for sound design, but mostly FL Studio’s stock plugins on the mixer. Even the bassline that fans kept asking him about came from two stock FL Studio synths, 3x Osc and Sytrus, plus some distortion.
FINNEAS, who produces Billie Eilish, leans on a few favorite instruments. On the Tape Notes podcast he named Omnisphere as his favorite software and said: “That’s on 99% of every song I’ve ever made” (MusicRadar, 2022). When he broke down the drums of “Therefore I Am,” MusicRadar listed Native Instruments’ Battery, Logic’s own Drum Designer and Initial Audio’s 808 Studio, with Soundtoys plugins and a Valhalla reverb on top.
What Mix Elite uses in its own mixes
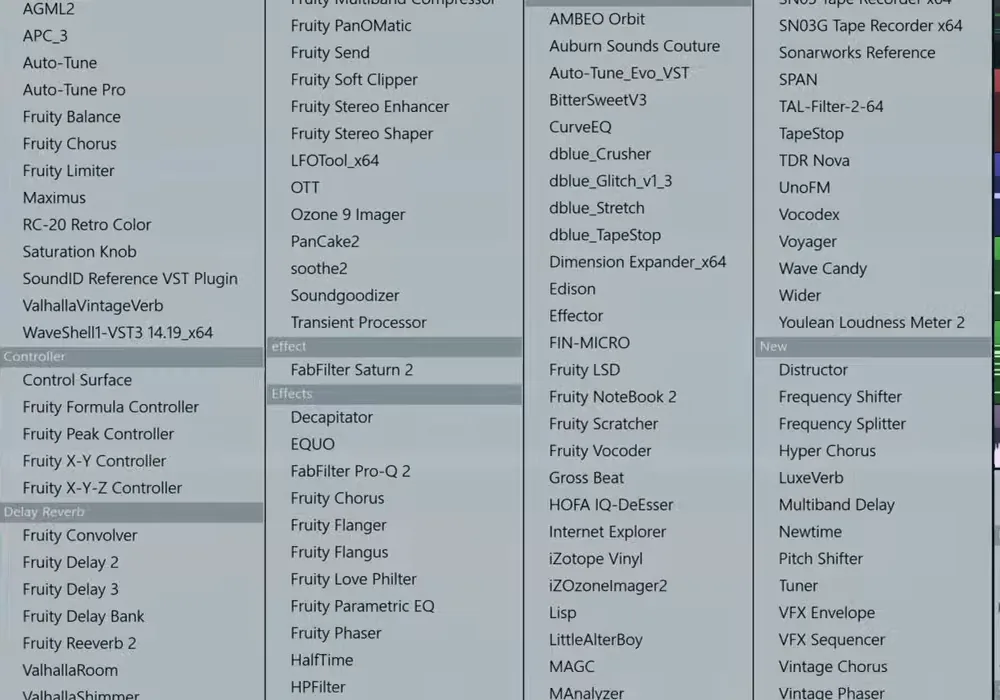
Mix Elite works the same way. In its trap mixing tutorial, the workhorses are stock: Parametric EQ 2, Fruity Limiter for sidechain, Fruity Reeverb 2 and Patcher. Paid plugins show up for a specific color, like Decapitator on the drums and RC-20 Retro Color on the melody layers.
The plugin menu in that video shows the same mix: FL Studio’s stock effects next to a few paid tools like ValhallaVintageVerb, FabFilter Saturn 2, Decapitator and soothe2, which tames harsh resonances. The free picks from this guide are in there too: OTT, TDR Nova, SPAN, Youlean and Saturation Knob. For the full process, see our guide on how to mix a song.
See the pattern? One or two favorite instruments, a few paid effects for a certain color, and stock tools for the everyday jobs. That’s the kit this guide builds.
Why do my beats sound flat with stock plugins?
It’s rarely the plugins. Flat, amateur-sounding beats usually come from weak sounds, a crowded low end and drums with no punch, and FL Studio’s stock plugins can fix all three: low-cut everything except the kick and bass, let the kick duck the 808, and add a little saturation on the drum bus.
Four fixes, in the order they matter most:
- Pick better sounds first. No plugin turns a weak sample into a great one, so swap the sound before you process it.
- Clear the low end. Only the kick and one bass sound should play in the sub. Mix Elite’s mixing lessons low-cut every other sub sound at about 100 Hz, and most instruments at 200 to 250 Hz, with Fruity Parametric EQ 2.
- Let the kick through. Duck the 808 each time the kick hits, with Fruity Limiter’s sidechain from item 4, so the two stop fighting.
- Give the drums weight. A little saturation on the drum bus, from Fruity Fast Dist, Saturation Knob or Decapitator, makes them thicker and louder without touching the fader.
Still flat after that? Put SPAN on the master and compare your beat with a professional track in the same style. The biggest difference you see is usually the next thing to fix.
How many plugins do you actually need?
One per job to start, so about six, and FL Studio already gives you all six. Add a free plugin when you hit a real limit, and pay for one only when you’d use it on every song.
The trap video keeps it lean even on the master. To preview the finished sound, it uses two plugins: OTT at 10 to 15% and Fruity Limiter set up as a soft clipper, with the ceiling all the way up. FL Studio also has a dedicated Fruity Soft Clipper in every edition.
The $0 starter kit: one stock plugin per job, plus one free add-on. That’s a complete kit.
How do you decide which plugins are worth buying?
Pay only when a plugin does something your stock plugins can’t, or saves you real time on every song. FL Studio already handles EQ, compression, reverb, delay and saturation, so most good first purchases are a better reverb, a faster EQ or a bigger synth.
If you do want to spend money, spend it in this order:
Prices on the makers’ sites, October 12, 2026.
- Finish a few songs with the $0 kit first. You’ll learn what you actually miss.
- Reverbs sound cheap or metallic? Get VintageVerb.
- EQ on every track all day? Pro-Q 4 saves time. Drums lack weight? Decapitator.
- Vital no longer does what you hear in your head? That’s when Serum 2 is worth it.
Before you buy, use the free trial on a real song you’re finishing. If it doesn’t fix a problem you can hear in that song, you don’t need it yet.
While you try it, watch FL Studio’s CPU meter in the toolbar. If it jumps, or the sound starts to crackle when you add the plugin, it’s too heavy for your computer. And if you can’t work out the main controls quickly, it will slow you down more than it helps.
New plugins go in like any other VST. Our guide on how to install VST plugins in FL Studio walks through the scan and the plugin folders.
DAY 4 OF THE 7-DAY MUSIC PRODUCER COURSE
You have the plugins. Day 4 shows you the mix.
Plugins only help when you know what each one is for. Day 4 of the 7-Day course is all about mixing: the simple Holy-Quad mixing formula, the “Mix Murdering” mistakes most beginners make, and the volume mistake people make in the first 5 minutes of every mix. You also get a mixing checklist and a mixing and production template. It’s taught in FL Studio (the free trial works), about 45 minutes a day, and on day 7 a pro gives you feedback on your finished track. It’s $27, and you get 60 days to decide if it was worth it.
Frequently asked questions
What plugins should a beginner get first?
None, at first. If you use FL Studio, its stock plugins cover every job: Parametric EQ 2, Fruity Limiter, Fruity Reeverb 2, Fruity Delay 3, Fruity Fast Dist and FLEX. Then add free picks like TDR Nova, OTT, Valhalla Supermassive, Vital and Youlean Loudness Meter 2. Pay for plugins only when one solves a problem you hear in your own songs.
Can you make professional music with only stock plugins?
Yes. FL Studio’s stock plugins handle EQ, compression, reverb, delay, saturation, synths and mastering, and Mix Elite’s tutorials mix vocals and full beats with them. Paid plugins mostly save time or add a specific color. A finished song depends on your choices, not your plugin folder.
What is a VST plugin?
A VST plugin is an instrument or effect that runs inside your DAW, the app you make music in. VST and VST3 are the most common formats on Windows and Mac. Macs also use AU, and Pro Tools uses AAX. FL Studio runs VST, VST3 and CLAP plugins, plus AU on a Mac, and it comes with its own plugins for every job.
What is the best free vocal tuning plugin?
MeldaProduction’s MAutoPitch is a solid free choice: set the song’s key and scale, turn Depth up and lower Speed for a softer effect. FL Studio’s own Pitcher and Newtone do the same job, but they only come with the Signature Bundle and the All Plugins Edition.
What plugins do professional producers use?
Mostly the same jobs you need, plus a few favorites. Brooks, known for his tracks with Martin Garrix, told Image-Line he uses Spire and Serum for sound design but mostly FL Studio’s stock plugins on the mixer. FINNEAS has said Omnisphere is on 99% of his songs. In Mix Elite’s trap mix, the workhorses are stock FL Studio plugins too.