
Though it may not seem like it at first glance, getting a solid bass recording is a pretty easy feat, as long as you have the right tools and bass-playing capabilities. Best of all, there are only a few distinct approaches most recording engineers take. In this guide, we’re going to dive in and explore how to record bass guitar at home, so you can have more consistent low-end in your mixes!
Table Of Contents:
- Understanding the Basics of Bass Guitar Recording
- Choosing the Right Equipment for Recording Bass
- Techniques for Effective Bass Guitar Recording
- Achieving the Perfect Tone in Bass Guitar Recording
- Optimizing Your Bass Guitar Performance for Recording
- FAQs in Relation to Recording Bass Guitar
- Conclusion
Understanding the Basics of Bass Guitar Recording
Recording bass guitar is very similar to capturing the sound of the electric guitar. Along with the drums, the bass forms the backbone of most songs and productions, so getting your bass sound right is a vital part of producing good music.
Luckily, bass guitar is relatively easy to record. Just plug it in and play it. Of course, for a higher-grade sound, there are a few guidelines you might want to note.
Importance of a Good Bass Guitar
A good bass guitar is crucial for recording as it lays the foundational groove and rhythm that support the rest of the musical arrangement. Its rich, resonant tones ensure clarity and depth in the mix, providing the necessary sonic glue that binds all elements of a track together. Without a quality bass guitar, a recording may lack the warmth and cohesion essential for a compelling and dynamic listening experience.
The Role of Acoustics in Recording
The role of acoustics in recording bass guitar cannot be overstated, as it significantly influences the clarity, depth, and overall quality of the bass sound captured. A well-treated recording environment ensures that the bass frequencies are accurately represented and prevents unwanted reflections or absorptions that can muddy the sound. Proper acoustics allow the bass guitar’s nuanced dynamics and tonal characteristics to shine through, making it a pivotal aspect of achieving a professional-sounding recording.
Keeping Your Bass in Optimal Playing Condition
Keeping your bass guitar in optimal playing condition is essential for ensuring the best possible sound and performance, whether in a live setting or during recording sessions.
Regular maintenance, including cleaning the body and strings, checking and adjusting the neck’s truss rod for proper relief, and ensuring the intonation is correctly set, can significantly impact the instrument’s playability and tone. Keep an eye on the humidity and temperature of the storage environment to prevent warping and other damage as well.
By investing time in these upkeep routines, you can maintain the instrument’s resonance, sustain, and overall sound quality.
Choosing the Right Equipment for Recording Bass
The easiest way to record a bass guitar is to plug it into an instrument input on your audio interface. This method is sometimes called Direct Injection (DI for short), and for genres such as pop, blues, and rock, it is extremely effective.
Selecting a Suitable Audio Interface
Selecting a suitable audio interface for recording bass is crucial for capturing the instrument’s depth and detail. Interfaces with high-quality preamps and ample headroom, such as the Universal Audio Apollo, the Focusrite Clarett, and the Steinberg UR44C, are excellent choices that ensure the rich, low frequencies of the bass are accurately reproduced without distortion.
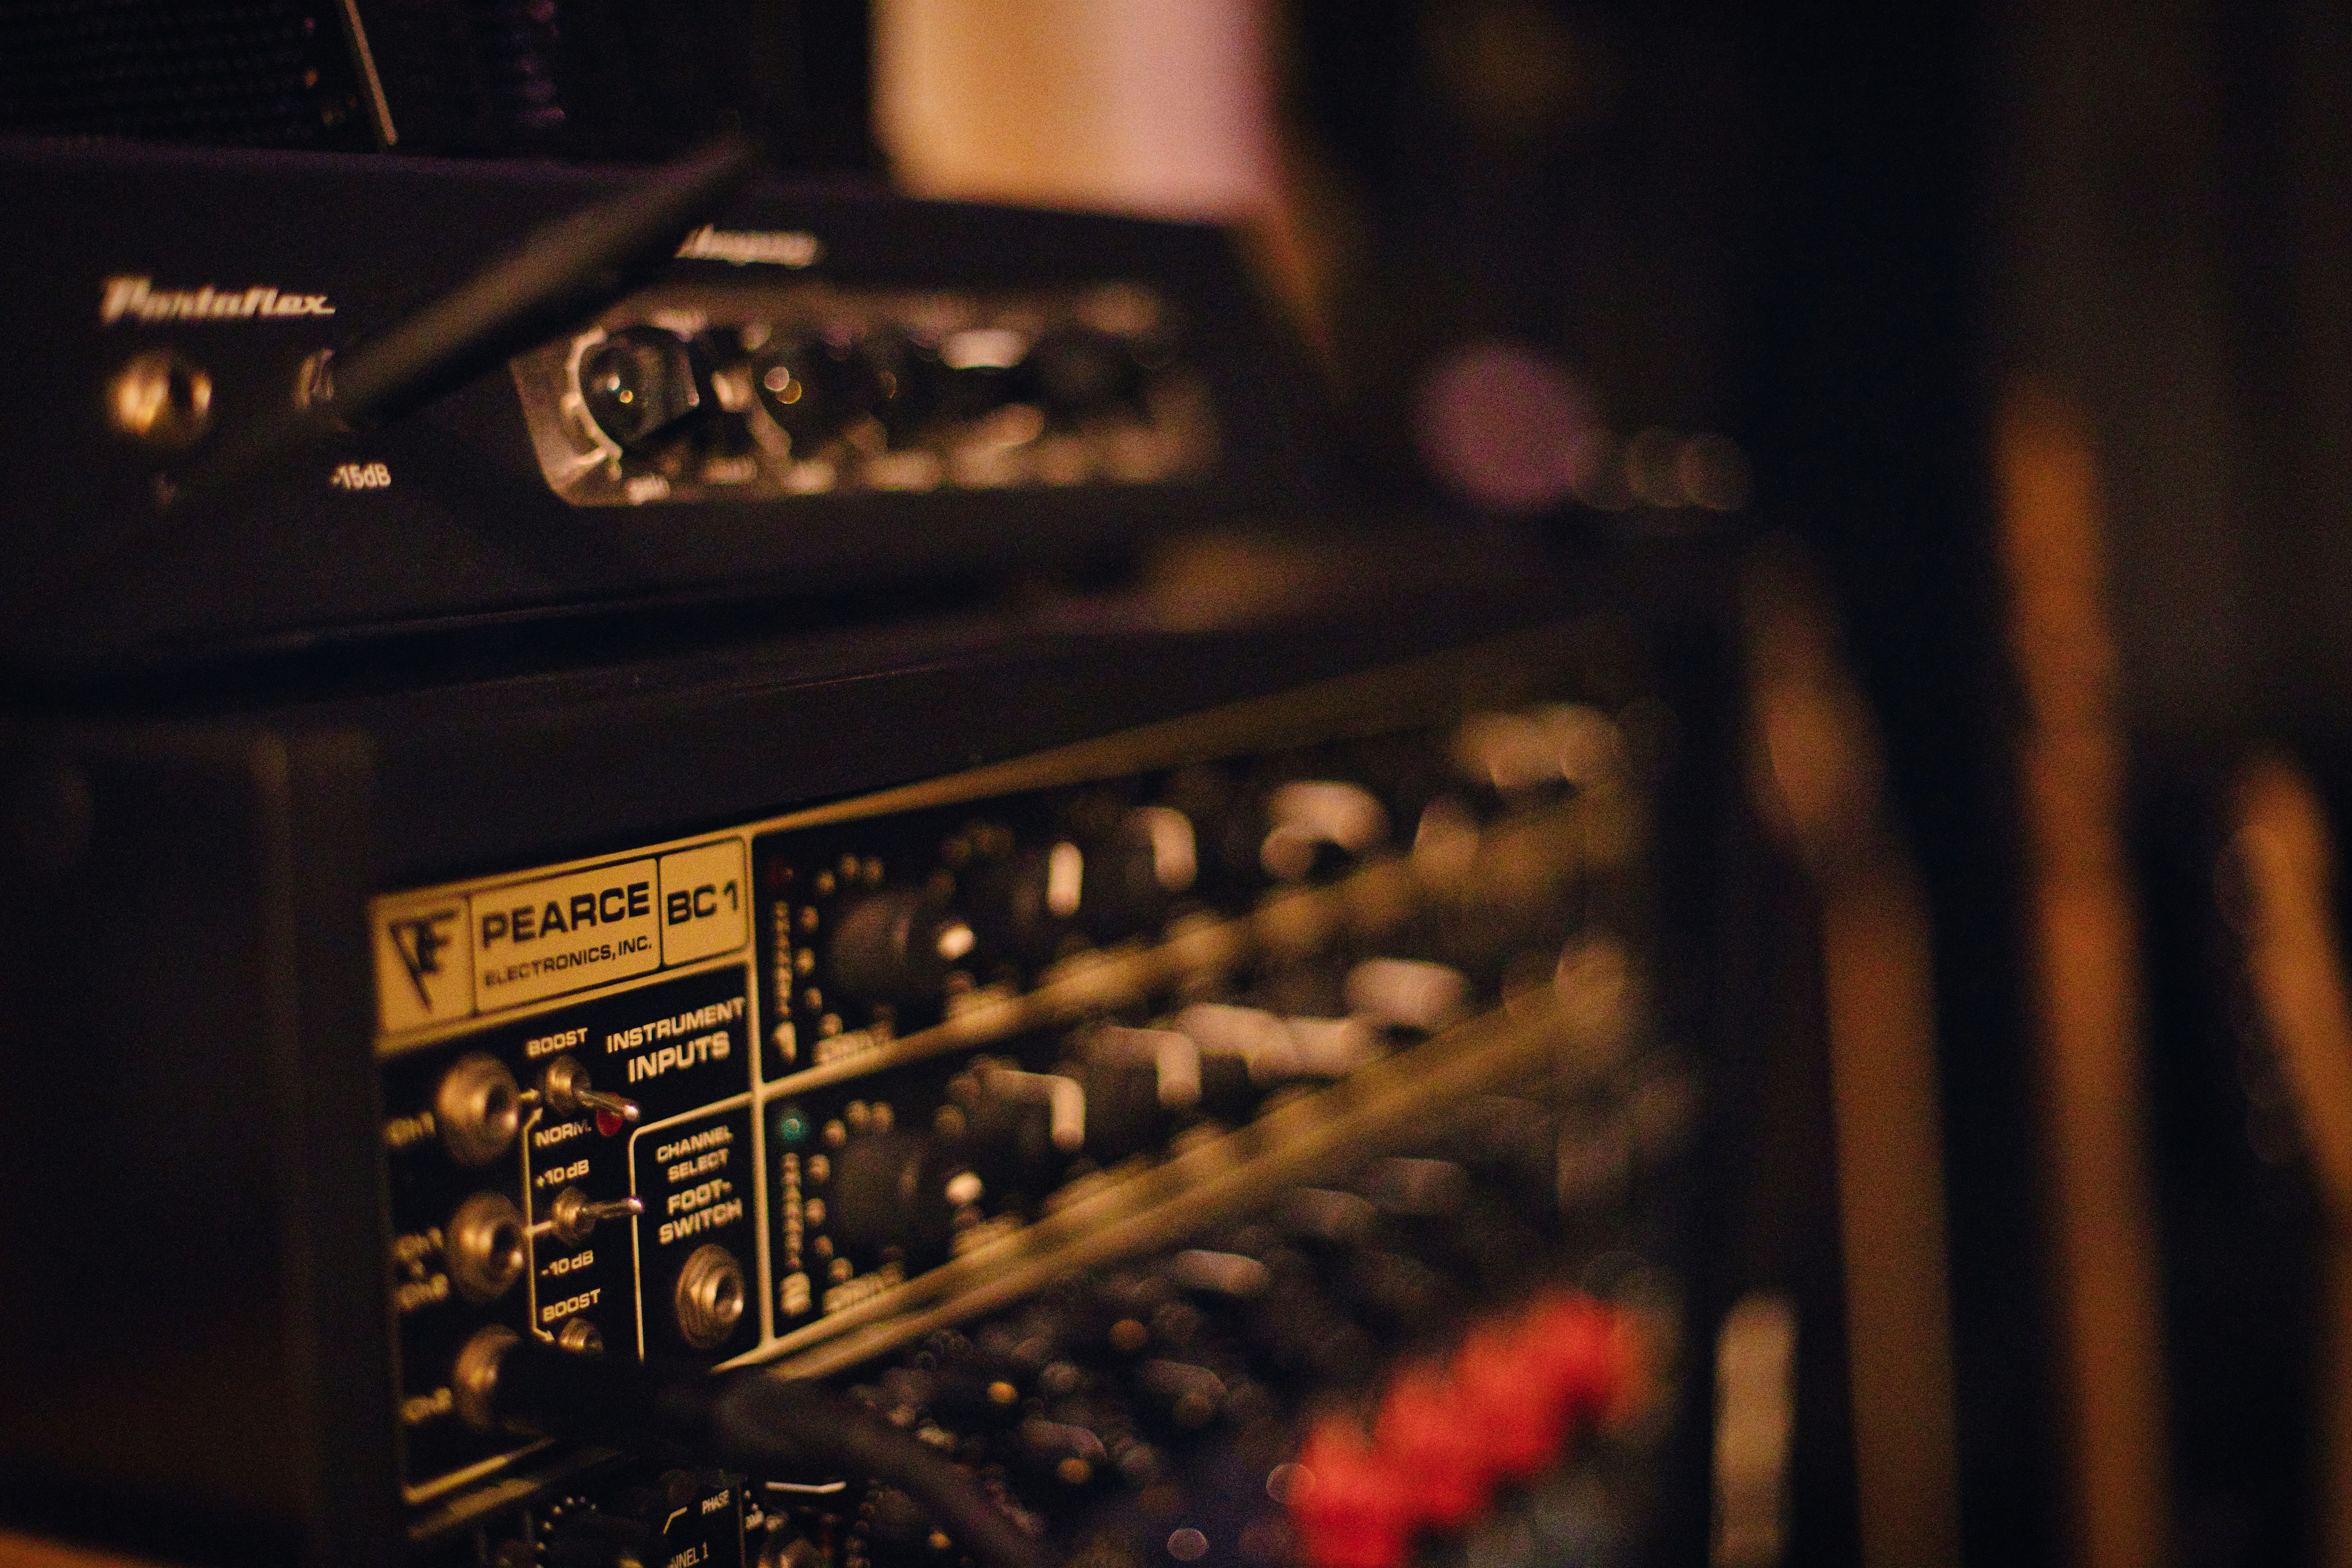
The Use of Preamp Pedals and DI Boxes
Preamp pedals can add warmth, character, and dynamics to the bass signal, offering tone shaping options such as EQ adjustments and overdrive for added texture.
DI boxes, on the other hand, ensure a clean, balanced signal is sent from the bass to the recording system, which is crucial for preserving the instrument’s natural sound in both live and studio settings.
Together, these tools provide you with greater control over your sound, allowing for a more polished and defined final product.
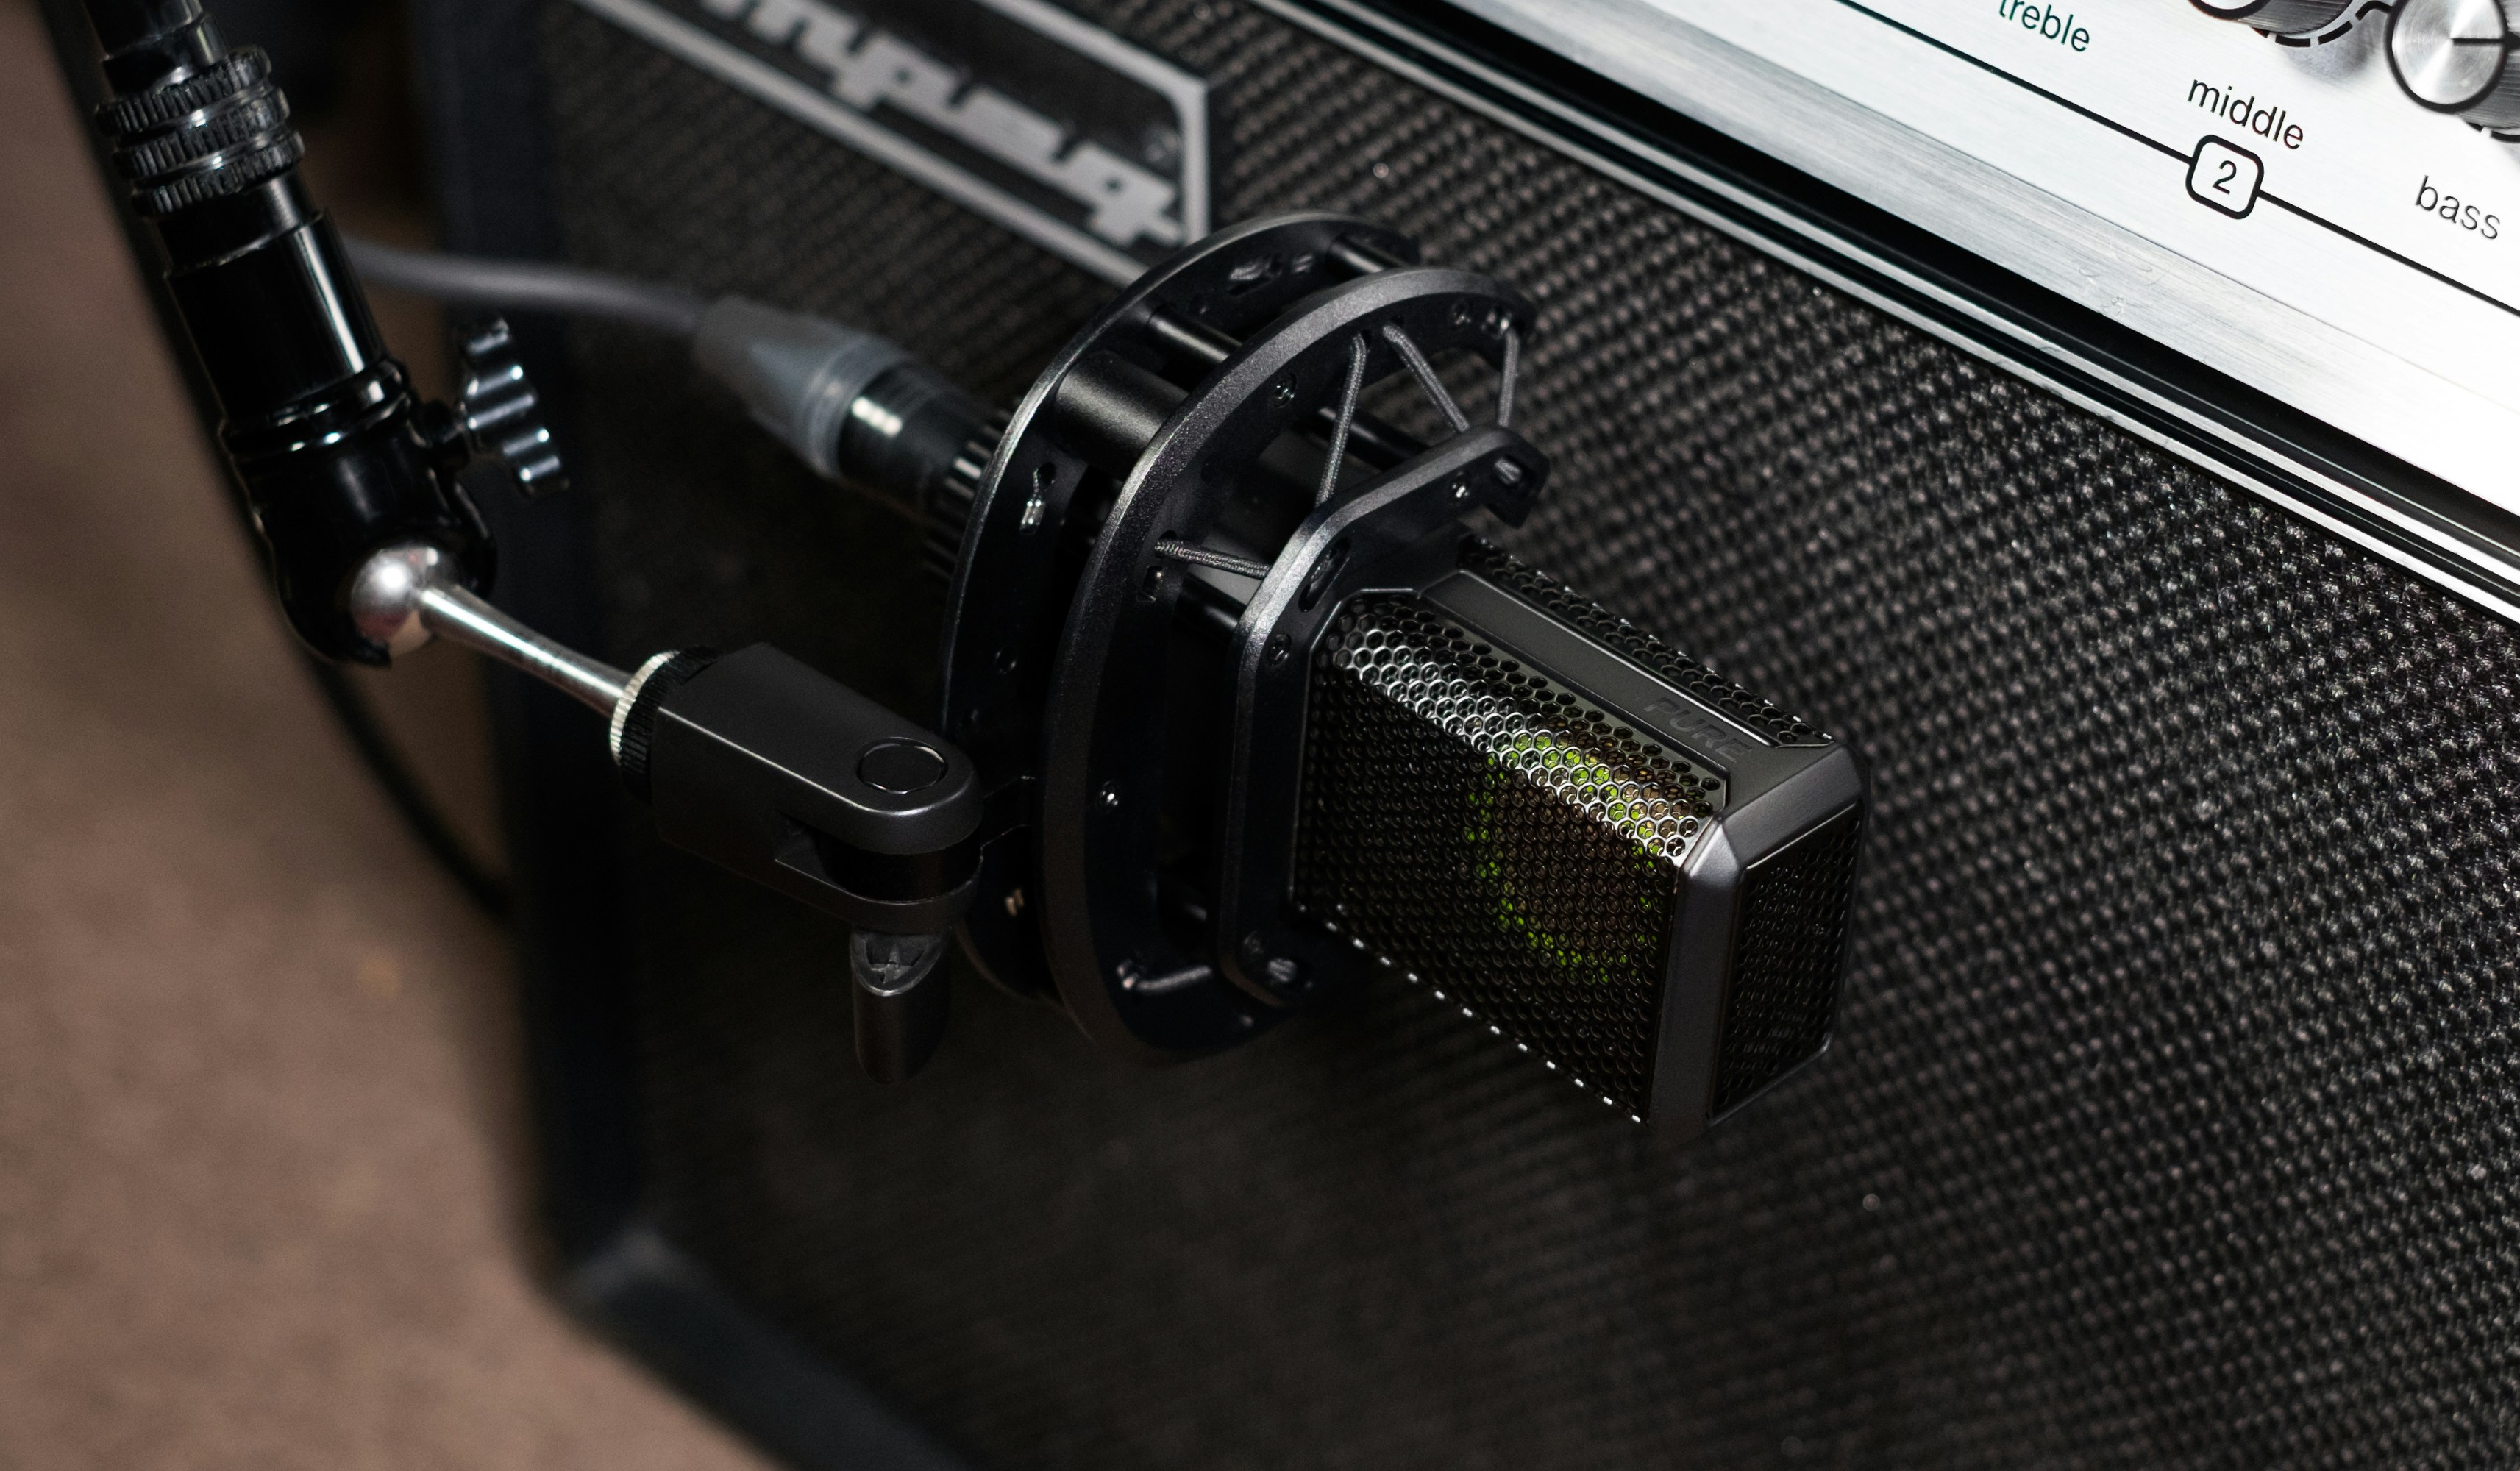
Microphone Types and Placement for Bass Recording
When it comes to recording bass, the mic you choose and where you put it can make a big difference. For a rich, full-bodied sound, dynamic mics like the Shure SM57 or the Sennheiser MD421 are solid picks.
If you’re aiming for more detail and clarity, especially in the higher frequencies, a condenser mic, such as the AKG C414, could be your best friend. Placement-wise, pointing the mic towards the edge of the speaker cone usually gives you a nice blend of punch and warmth, but hey, there’s no harm in experimenting to find that sweet spot that makes your bass sound just right.
Techniques for Effective Bass Guitar Recording
Direct Insert (DI) Technique
So, why go DI (Direct Insert) when recording bass? Well, it’s like having a secret weapon for clarity and consistency.
Going DI straight into your audio interface or mixer means you capture the purest sound of your bass, without any room noise or amp coloration getting in the way. It’s super handy for mixing, giving you a clean slate to work with, and you can always add amp simulators or effects in post to get the vibe you’re after. Plus, it’s a breeze to set up, making it perfect for both studio sessions and quick home recordings.
Using Microphone and Amp
Using a microphone and amp to record your bass brings its own set of perks, especially if you’re chasing that authentic, live sound. By miking up your amp, you capture the character and warmth that your amp and speaker add to your bass tone, something that can be hard to replicate purely in the box. It gives your recordings a certain organic quality, with all the subtle nuances of your playing style and the air moving in the room.
Plus, it’s a great way to experiment and find unique sounds by playing around with different mic positions and amp settings. It might take a bit more effort to dial in, but when you hit that sweet spot, it’s totally worth it.
Combining DI and Microphone Techniques
Combining DI and microphone techniques when recording bass? Now, that’s like having your cake and eating it too. This approach gives you the best of both worlds: the clean, uncolored tone from the DI for clarity and ease of mixing, and the characterful, amp-driven sound from the mic to capture the vibe and warmth of your playing. It’s super flexible because you can blend the two signals to taste, finding the perfect balance for your track.
Plus, having both options at your disposal during mixing can be a lifesaver for fitting the bass just right into the mix. It’s a bit more work upfront, but the depth and versatility you get in your bass tracks are absolutely worth it.
Achieving the Perfect Tone in Bass Guitar Recording
By recording bass direct into the interface, you can apply amp modelling and effects of choice in your DAW, and tweak your sound exactly the way you want to hear it.
The Role of Amp Modelling
Amp modelling software like Guitar Rig, BIAS Amp, or Amplitube can be a game-changer when it comes to recording bass. These programs simulate the sound of classic bass amps and cabinets, allowing you to craft your tone entirely “in the box”.

With amp modelling, you have the flexibility to change your bass sound after the fact. If you decide that the tone you recorded isn’t quite right for the song, you can simply load up a different amp model and tweak away until it fits.
Understanding Phase and Comb Filtering
When combining a DI signal with a miked amp, it’s important to be aware of phase issues. If the two signals are out of phase, they can cancel each other out, resulting in a thin, weak sound.
To avoid phase problems, make sure that the DI signal and the miked signal are in phase with each other. You can do this by inverting the polarity of one of the signals until they reinforce each other instead of cancelling out.
Comb filtering is another issue that can arise when combining multiple signals. This happens when two similar signals are slightly out of time with each other, creating a series of peaks and dips in the frequency response. To minimize comb filtering, try to align the timing of the DI and miked signals as closely as possible.
Finding the Sweet Spot in Miking
When miking a bass amp, the placement of the microphone can have a big impact on the recorded sound. The “sweet spot” is the point where the mic captures the best balance of low end, midrange, and high end frequencies.
To find the sweet spot, start with the mic close to the speaker (about an inch away) and pointed directly at the center of the cone. Then, slowly move the mic around and listen for changes in the tone. You might find that moving the mic slightly off-axis or a bit further back from the speaker gives you a sound that better suits the song.
Experiment with different placements until you find a sound that you like. And don’t be afraid to use multiple mics on the amp – a dynamic mic up close for punch and a condenser or ribbon mic further back for ambience can be a winning combination.
For pro bass guitar recording, start with a quality instrument and consider both DI and mic techniques. Record in treated spaces to reduce unwanted noise, keep your bass well-maintained for the best sound, and use amp modeling for tone flexibility. Always check phase issues when combining signals.
Optimizing Your Bass Guitar Performance for Recording
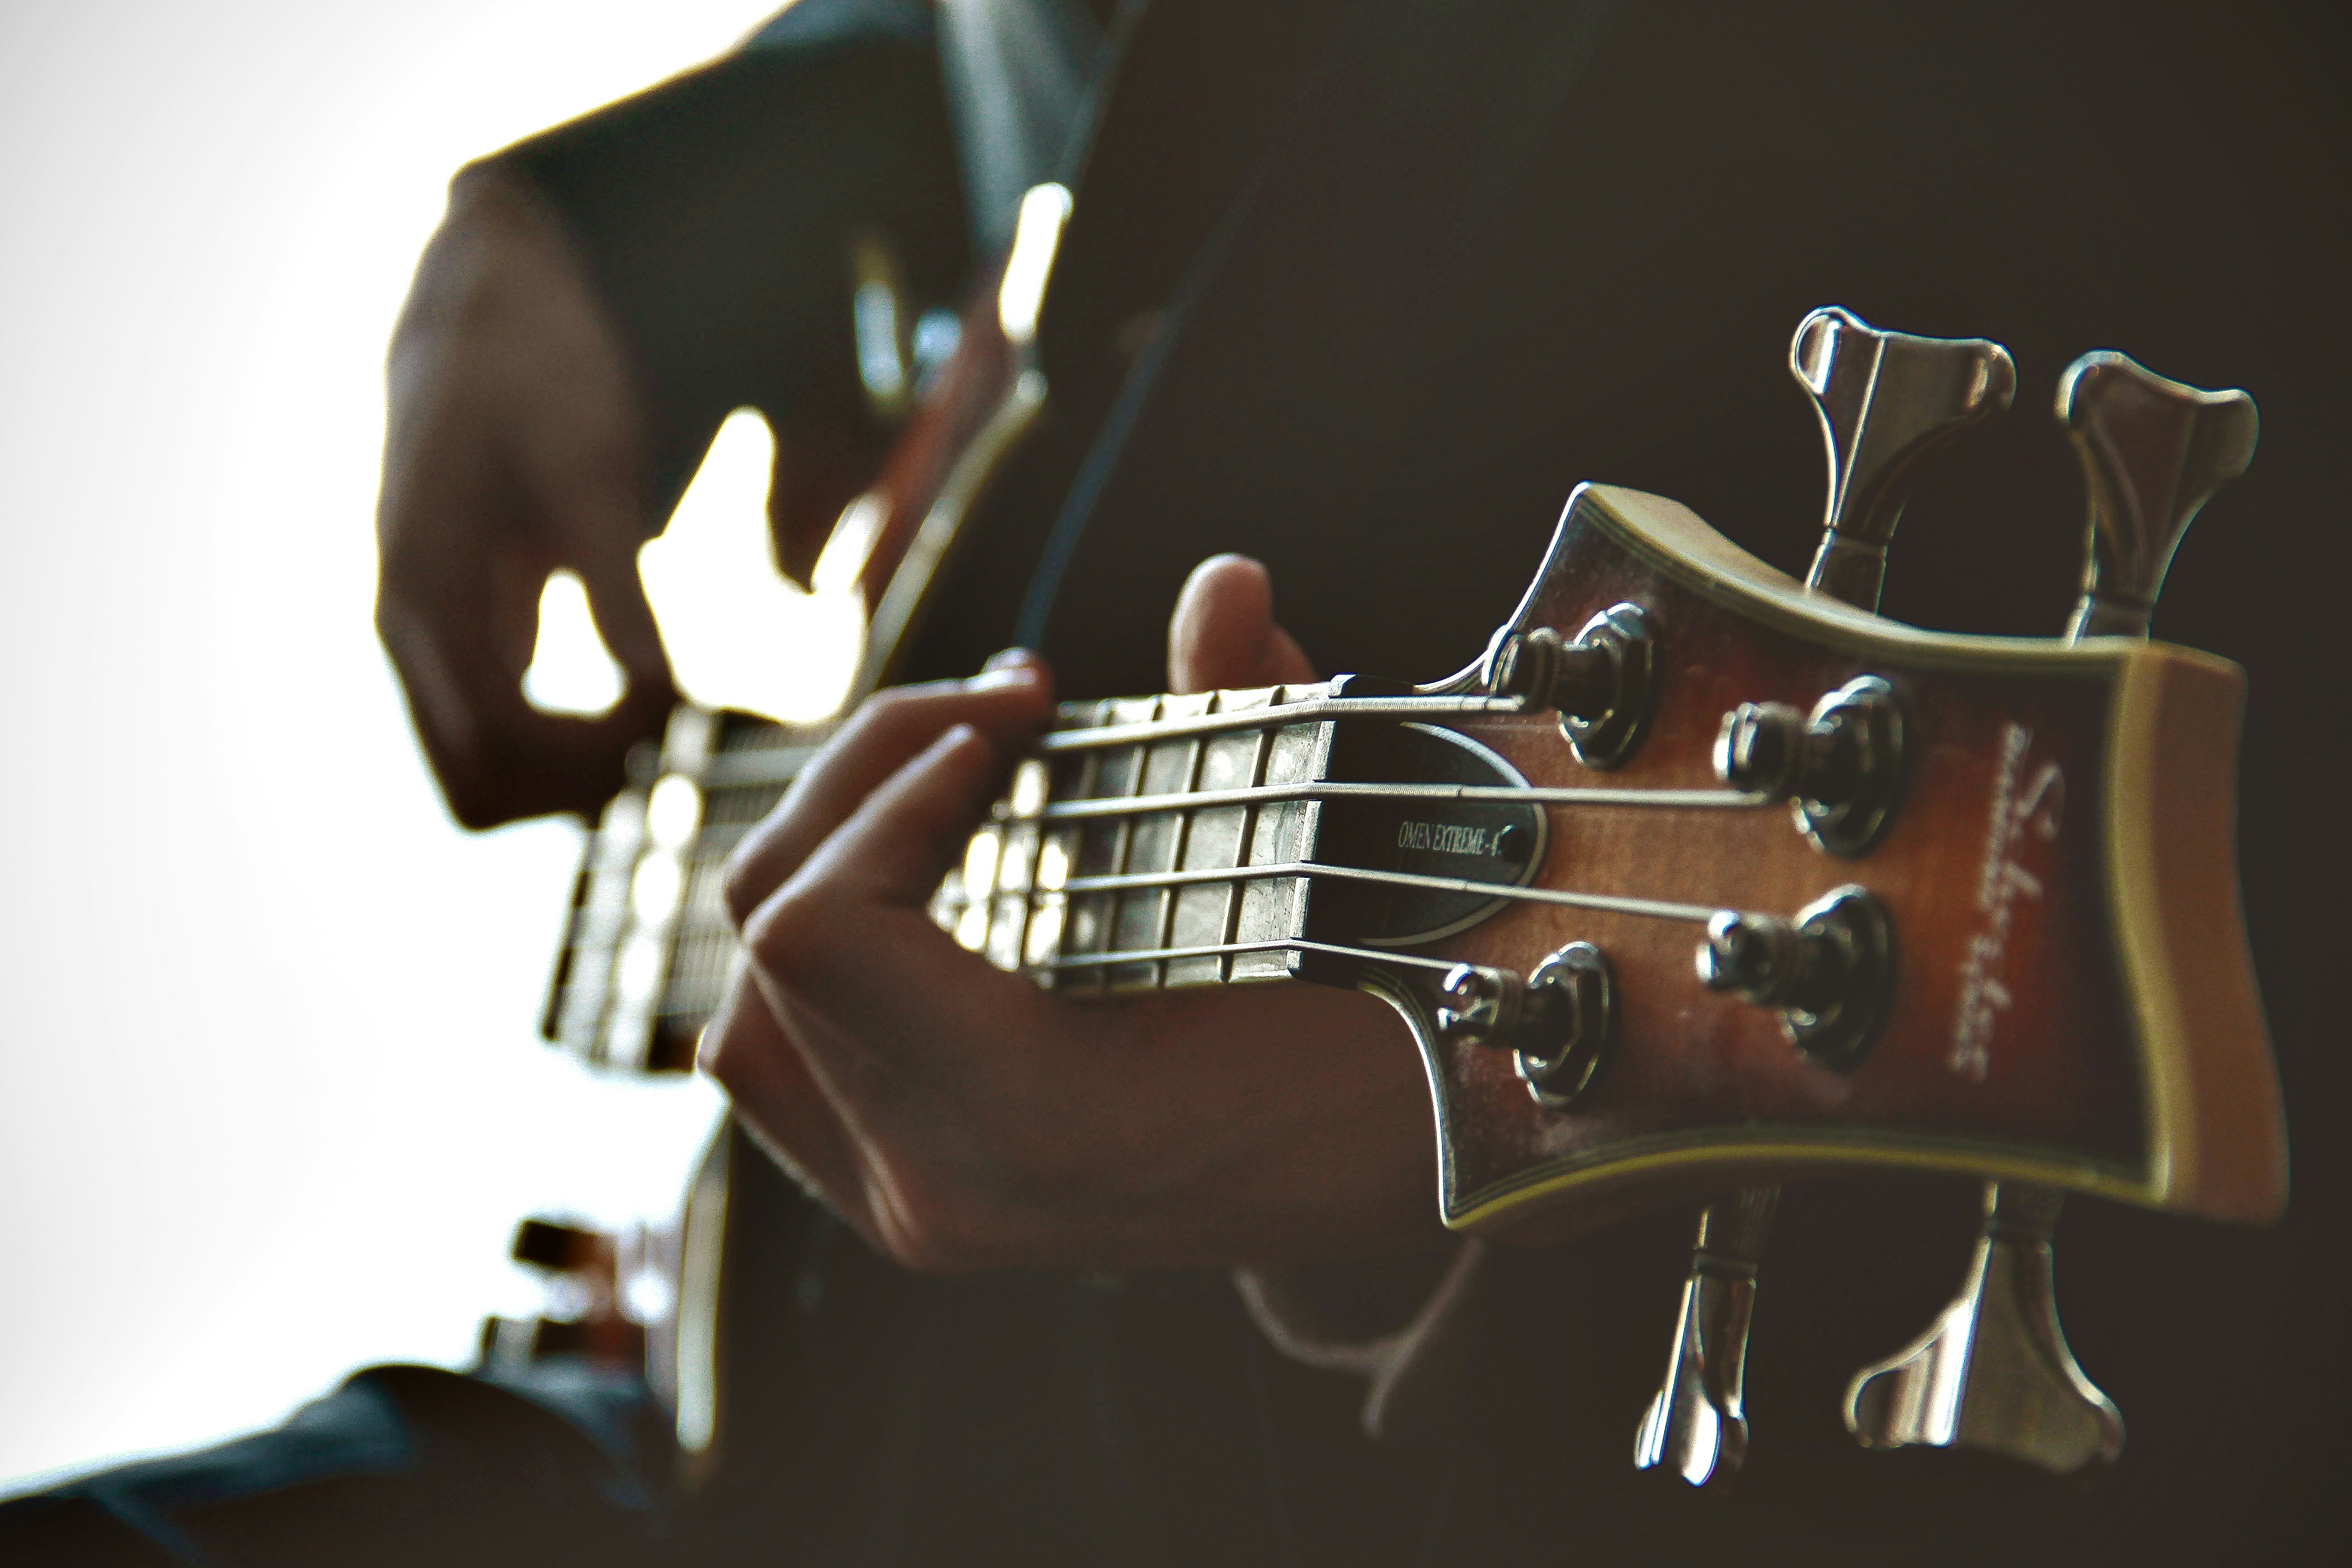
Choosing a Bass Guitar That Matches Your Song Style
There may be no better feeling than nailing a bassline in a recording session. On the flip side, there may be no more disheartening feeling than listening to a recording and realizing that your perfect performance was ruined by a technical recording problem.
You don’t need expensive gear, but the type of bass guitar you use does influence the timbre of the sound you record. It’s important to match the style of guitar you use to the style of music you’re trying to create.
Listen to artists you like and pay close attention to the bass. What makes it sound great?
Then think about all of the instruments in your song. What frequency ranges are they taking up?
Sculpt your bass tone so it isn’t occupying the same fundamental frequencies as another instrument.
EQ, compression, and distortion are just a few of the ways you can push your tone in the right direction.
Checking Equipment Before Recording
First up, let’s focus on getting your performance spot-on.
Be aware of your acoustics. Bass is a very powerful frequency, and the room around the bass amplifier can easily muddy up really quickly.
Try to avoid placing a bass amp in a very reflective room; you want to minimize all the reflections you can.
Pick the right bass guitar to match your song’s vibe and sculpt its tone carefully. Make sure your recording space doesn’t muddle the sound, watch out for unwanted string noise, and use EQ and compression smartly to polish your bass tracks. A good mix blends well with other instruments.
FAQs in Relation to Recording Bass Guitar
How do I record my bass guitar?
To record your bass, you can use a DI box to connect directly to an audio interface or mic up your amp. Both methods work well.
Can you record bass directly to computer?
Yes, by using a DI box or audio interface that supports instrument level inputs, you can plug straight in and start recording.
Do I need a bass amp to record bass?
No, you don’t necessarily need an amp. While an amp can add character, direct recording with a DI box is totally viable and common in studios.
Do you need a preamp for recording bass?
A preamp isn’t mandatory but it helps shape the sound before hitting the DAW, offering more control over tone quality.
Conclusion
And there we have it – a roadmap for how to go about recording bass guitar. From selecting top-notch equipment to mastering placement techniques and finally striking gold with tone perfection – we covered ground on what matters most in making sure those low frequencies sit just right in any mix.
Recording bass guitar right can set the foundation for a solid mix, but there’s so much more to explore when it comes to music production. To deepen your understanding and enhance your skills, consider starting a free trial at Mix Elite Academy, where you’ll get access to premium courses, over 320+ in-depth lessons, and exclusive top-tier sample & preset packs. Additionally, you’ll benefit from student discounts of up to -50% OFF on thousands of plugins and become part of a private community of students. Dive deeper into the art of music production with the comprehensive resources and supportive network at Mix Elite Academy.


