
Though often overlooked, the art of sidechain compression is a critical tool in crafting music that allows every detail to stand out with stark clarity. Once you’ve honed this technique, your tracks will boast a pristine blend where every component is distinctly highlighted. Today, we’re plunging into the nitty-gritty of configuring sidechain compression to ensure your tunes are crystal clear.
Basics of Compression
Before we talk about how a sidechain compressor works, let’s first make sure you understand the fundamentals of compression.
Think of compression like the bouncer at a club, keeping the rowdy peaks in check so everyone can enjoy the groove. It’s all about balance and making sure no sound hogs the spotlight for too long.
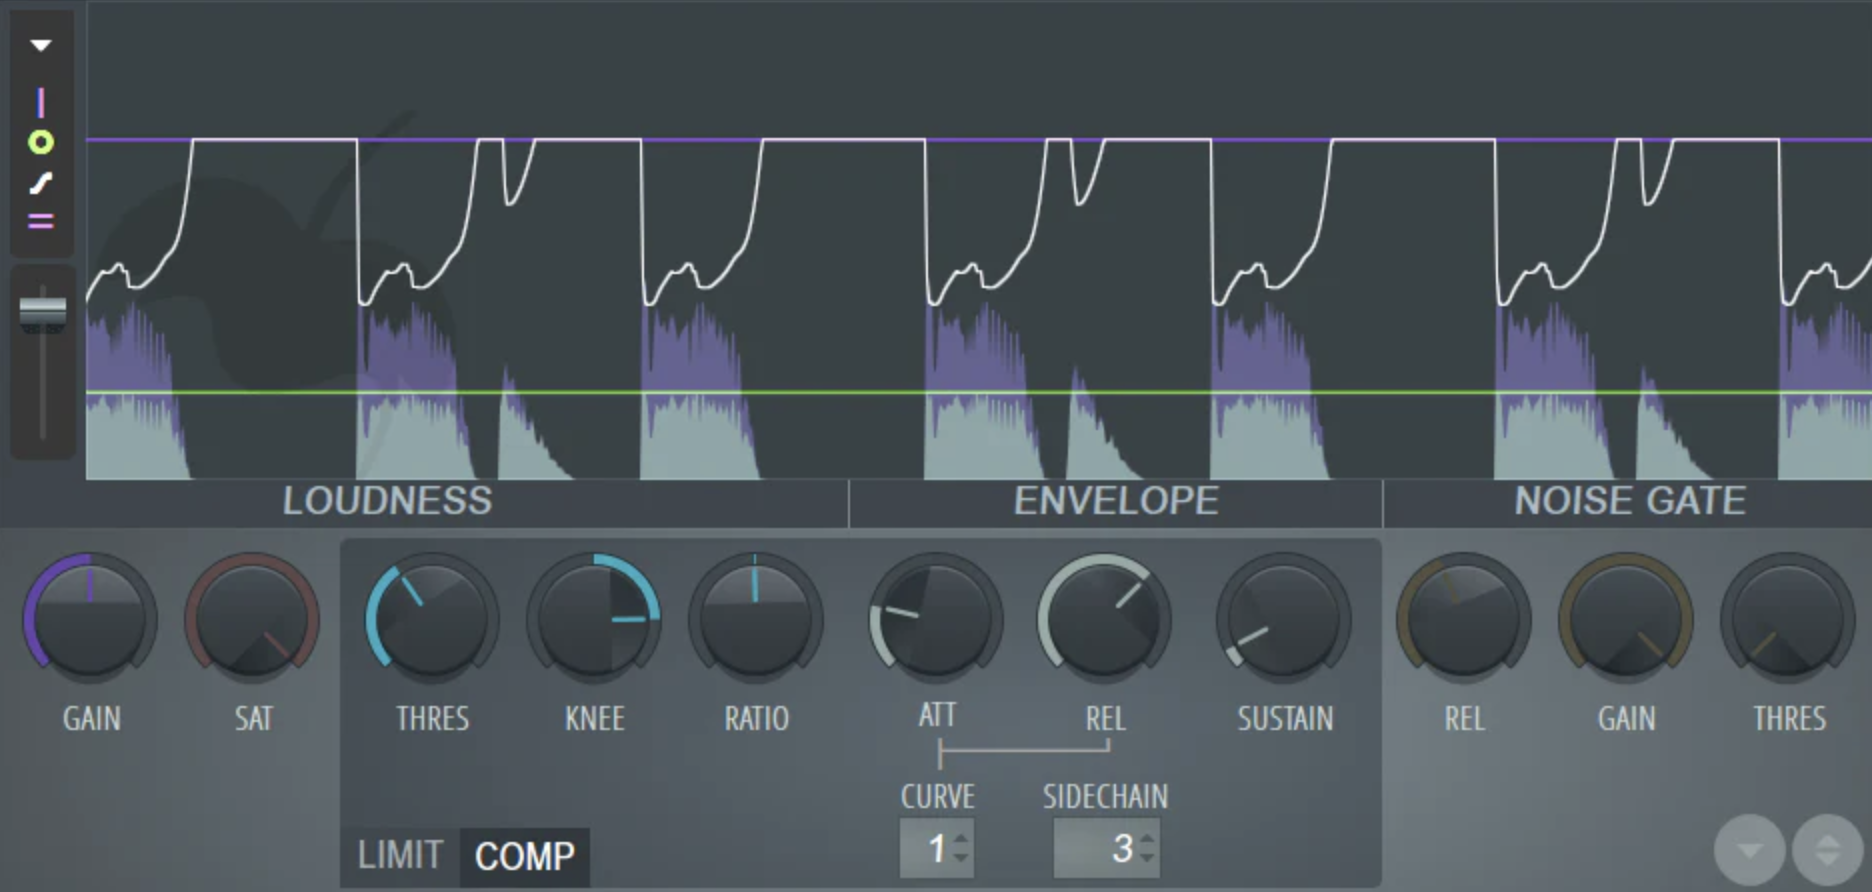
Threshold: The Gatekeeper
The threshold is where you tell your compressor, “Hey, keep an eye on this line.” Sounds above this level get a tap on the shoulder. The key here? Setting it just right lets us tame those loud parts without squashing our mix’s vibe.
Ratio: How Strict Is Our Bouncer?
This tells our bouncer how firmly to deal with sounds overstepping their bounds. A higher ratio means stricter control – great for reigning in wild peaks but be careful not to lose your mix’s dynamics.
Attack and Release: Timing Is Everything
The attack decides how quickly our compressor reacts once a sound crosses that threshold line. Too fast and we might choke out some life, too slow and we miss taming those spikes.
The release controls how soon after dipping below our set threshold level does everything go back to normal? Getting this right ensures natural-sounding compression that breathes with your music.
Understanding Sidechain Compression
Imagine a crowded room where everyone’s trying to talk over each other. That’s your mix without sidechain compression. Now, imagine if whenever the most important person in that room starts to speak, everyone else automatically lowers their voice. That’s what sidechain compression does for your mix.
What Is Sidechain Compression?
Sidechain compression lets one audio track trigger a compressor on another track. This means when your kick drum hits, it can make the bass duck down, creating space and clarity in your mix. It’s like giving VIP treatment to certain sounds so they stand out.
Utilizing this strategy transcends mere avoidance of sonic interference. It can also be used as an artistic mechanism for infusing tracks with distinctive rhythm and atmosphere. You’ve most likely heard that pumping sound in dance music, which we’ll get more into in a bit.
The Magic Behind Mixing with Sidechain
In practice, setting up sidechaining involves choosing a source (like our kick drum) and a target (such as the bass line). When set correctly, every thump of the kick cuts through by momentarily reducing the volume of competing frequencies from the bass.
Setting Up Sidechain Compression
Imagine your mix is a bustling city. Every sound has its own lane, but sometimes, the kick drum and bass want to occupy the same space. That’s where sidechain compression comes in.
Choosing Your Source Signal
The first step is picking your source signal. This is usually the element you want to stand out in the mix, like that punchy kick drum demanding attention at every beat. It tells the compressor when to turn down other tracks, making room for itself.
To get started, select your kick track as the input or key signal on your compressor’s sidechain function within your DAW. If you’re scratching your head wondering how exactly to do this in Logic Pro X or Ableton Live, there are plenty of tutorials online that can walk you through each click and adjustment.
Selecting The Target Track
Next up: choosing who gets pulled over by our traffic cop – typically a track that competes with our source signal for attention. In many cases, this will be your bass line since it shares frequency space with the kick drum.
Add a compressor plugin onto this target track and activate its sidechain feature aiming towards our selected source signal (the kick). Now adjust settings such as threshold and ratio until you find that sweet spot where both elements play nice without stepping on each other’s toes too much.
This technique isn’t just about avoiding collisions, it also creates dynamic movement within your track which can really make things pop. So why not give it a try? And if mastering these moves sparks joy in mixing music for you, consider joining Mix Elite Academy for more insider tips and tricks.
Think of sidechain compression as a traffic cop for your mix, ensuring the kick and bass don’t clash. Start by choosing your standout element, like the kick drum, then use it to duck competing tracks such as the bass line. Adjust until everything flows smoothly. It’s not just about avoiding collisions, it adds dynamic movement that makes your track pop.
Using Sidechain Compression on Bass and Kick Drum

Imagine your bass and kick drum are two kids on a seesaw. Without sidechain compression, they’re both trying to sit down at the same time – it’s chaos. But with sidechain compression, we make sure one kid sits while the other stands up. This is how we create space in our mix for each element to shine.
Tips for Adjusting Sidechain Compressor Settings
To get this right, you need to play around with a few knobs. The threshold setting decides when the compressor kicks in. Think of it as the height of the seesaw – lower means more action. If you want to keep it subtle, I recommend around -3dB of compression, especially for kick and bass.
The ratio determines how hard our seated friend hits the ground, higher ratios mean harder drops.
The attack and release settings tell us how fast that kid gets off and back on the seat. A quick attack lets our kick punch through immediately, while a slower release keeps our bass from jumping back in too quickly, avoiding muddiness.
And don’t forget about makeup gain. After all this ducking, your track might need a little boost to bring its volume back up to where it started.
A neat trick? Experiment with different attack and release times until you find what best suits your song’s groove.
Enhancing Vocal Clarity with Sidechain Compression
Vocal clarity in a mix is like the cherry on top of your audio sundae. Nailing it is tough, yet it’s the key ingredient that can’t be overlooked. Enter sidechain compression, the secret sauce for making those vocals pop without overpowering the rest of your track.
Understanding Sidechain Compression
Think of sidechain compression as a polite conversation between instruments. When one speaks (in this case, your vocals), others quiet down just enough to let it shine through. This technique ducks backing tracks or instruments momentarily when vocals enter, ensuring they’re heard clearly and distinctly.
To get started with enhancing vocal clarity using sidechain compression in your mixes, you’ll first need to select a compressor that allows for sidechaining within your digital audio workstation (DAW). Most modern DAWs include this feature natively or support third-party plugins that do.
Fine-Tuning Compressor Settings
The key to natural-sounding vocal prominence lies in adjusting compressor settings thoughtfully. Start by setting a moderate threshold level where only louder parts trigger the compression. A gentle ratio ensures that the ducking effect feels more like an embrace than a wrestling match.
Tweaking attack and release times is crucial. I like to make sure I’m dipping the music that’s getting in the way of the vocals only when they’re around, so fast attack and release times usually do the trick.
Creative Applications of Sidechain Compression
Sidechain compression isn’t just for clearing up the mix. It can be used as a hidden tool for sculpting beats that irresistibly pull listeners into a dance. The way in which you dial in your sidechain compression can impact the rhythm of the track.
Rhythmic Pumping Effects
One killer application is creating that iconic rhythmic pumping effect often heard in electronic music. This isn’t about making room for instruments, it’s about using compression as an instrument itself. By setting a compressor on your synth pad and linking it to the kick drum, each thump of the kick cuts through, giving that pulsating vibe we all love.
This technique turns simple beats into compelling rhythms listeners can’t ignore. And hey, if you’re diving deep into production techniques like these, our Mix Elite Academy might be right up your alley with its premium courses and vast resource library.
Groove Enhancement
Beyond pulsation lies groove enhancement—sidechaining elements not typically associated with rhythm sections to add unexpected swing or bounce to tracks. Think vocals ducking slightly under snare hits or hi-hats influencing ambient textures subtly moving in response. Incorporating these innovative turns breathes new life, adds layers of complexity, and infuses energy into the music-making process.
The trick here? Experimentation and critical listening play key roles, there’s no one-size-fits-all approach when applying sidechain compression creatively.
Advanced Tips and Tricks
Ever tried to get a cleaner mix but ended up with something that sounds like it was put through a blender? Sidechain compression in a multiband context might just be your knight in shining armor. This technique is about as close as we get to having our cake and eating it too, allowing for precise control over frequency-specific dynamics without turning the whole mix into mush.
Mastering Multiband Sidechain Compression
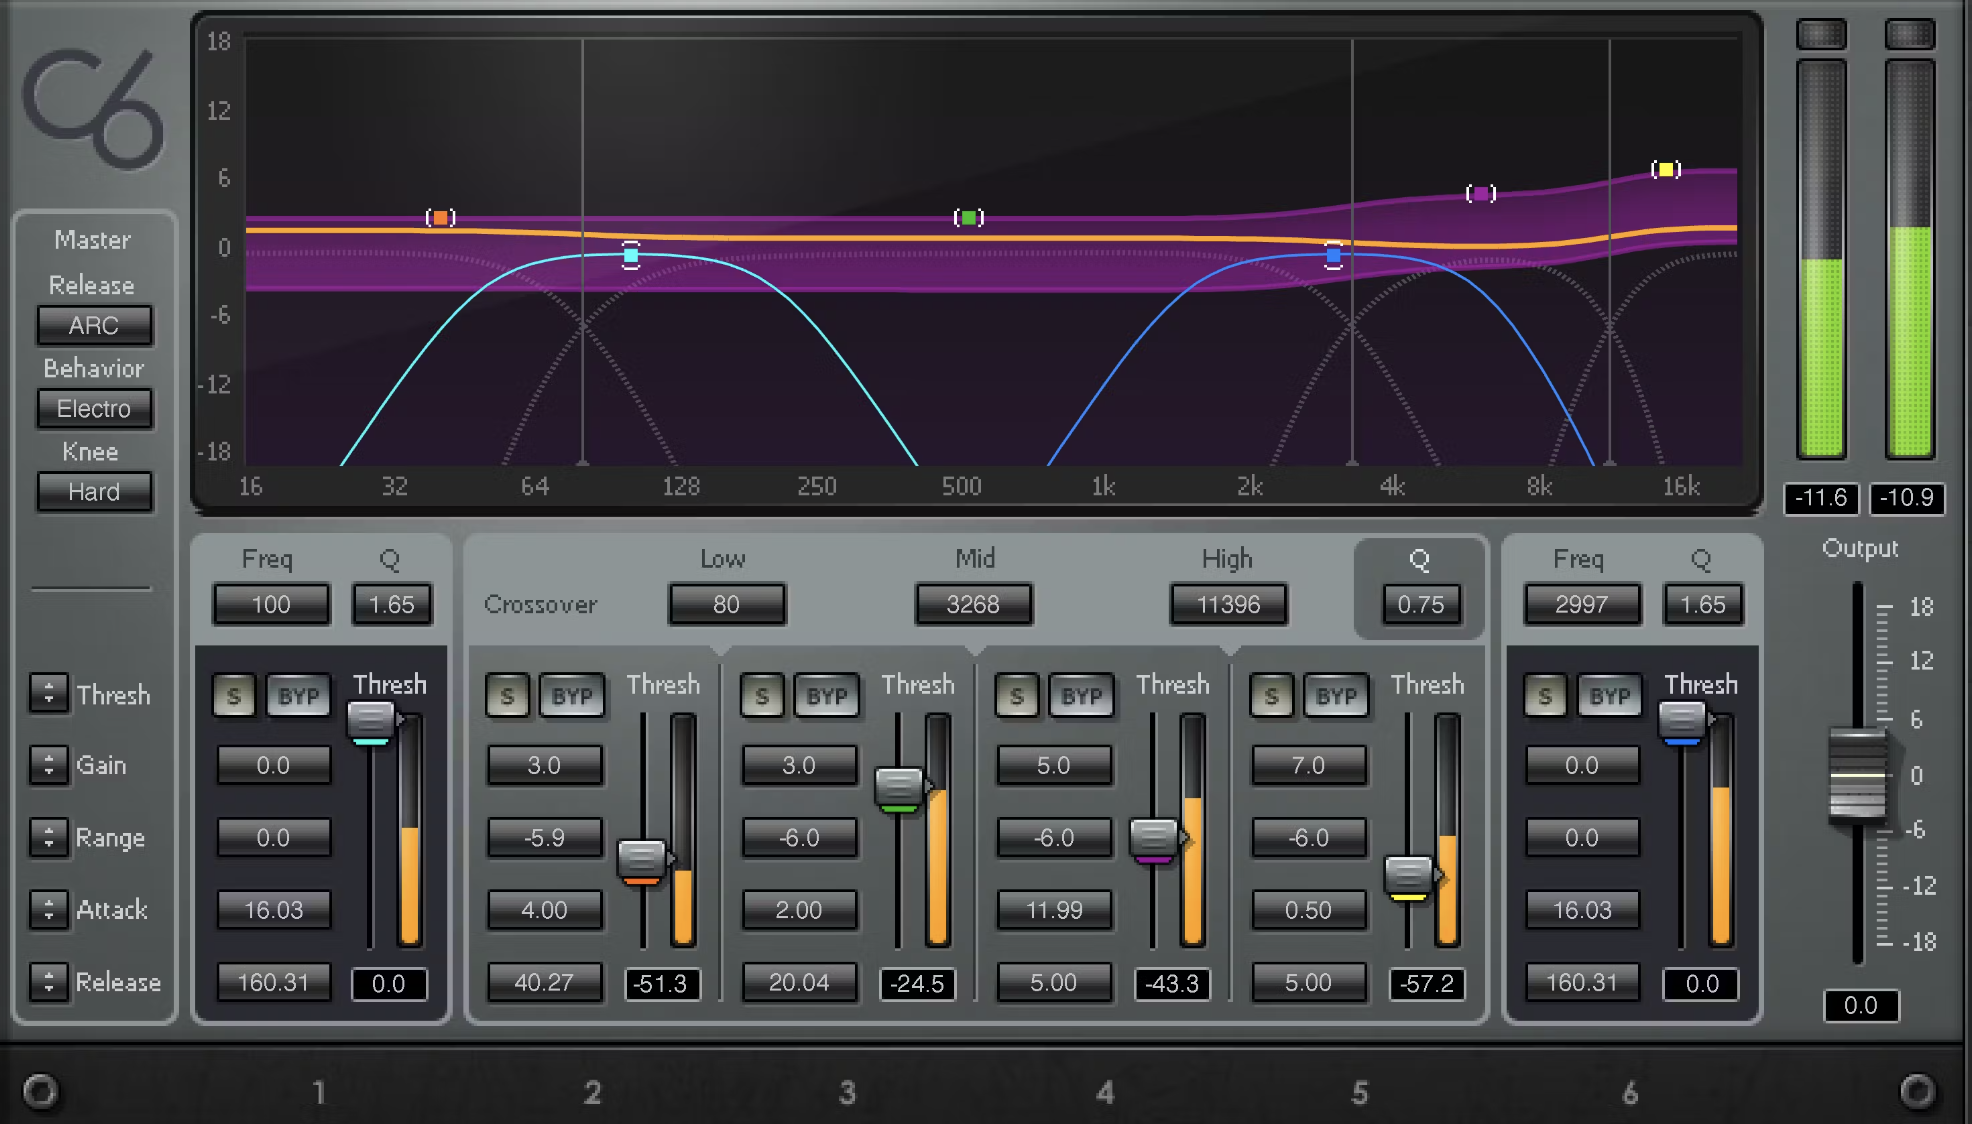
The magic of multiband sidechain compression lies in its ability to apply different levels of compression across various frequency bands. Imagine you’re trying to make space for your kick drum without squashing the life out of your bass guitar’s soulful lines. By honing in on particular frequency ranges, we create a world where the kick drum and bass guitar exist in perfect harmony, neither overshadowing the other.
To start, select a compressor that supports multiband functionality within your DAW. Next, set up sidechaining normally but focus on tweaking settings per band rather than globally.
Critical listening becomes paramount here. Always A/B test with and without the effect engaged. Sometimes less is more when aiming for subtlety—you want listeners feeling the impact rather than hearing an obvious pumping effect unless that’s your goal. Experimentation combined with attentive ears will guide those adjustments towards achieving crystal-clear mixes every time.
FAQs in Relation to How to Use Sidechain Compression for a Cleaner Mix
How do you use sidechain compression?
Link your compressor to a secondary audio source. When that source hits, it ducks the main signal, clearing space in the mix.
What should you sidechain in a mix?
Kick and bass are classic pairings. Sidechaining lets the kick cut through by momentarily dipping the bass volume.
What is the best compressor setting for sidechain?
No one-size-fits-all here. Start with a 4:1 ratio, fast attack, moderate release. Then tweak till it grooves right.
Should sidechain go before or after EQ?
After EQ usually works better. This way, your frequency adjustments don’t mess with how the compressor responds to signals.
Conclusion
Mastering the technique of sidechain compression is a key step towards achieving cleaner, more professional mixes. By skillfully applying this method, you’re not only enhancing the clarity of your tracks but also elevating your overall production quality. However, the journey to perfecting your mixing and production skills doesn’t end here. The art of music production is vast, with endless techniques to explore and master.
To further refine your skills and dive deeper into the world of music production, consider taking the next step with Mix Elite Academy. Start your free trial today and unlock access to an extensive collection of resources designed for music producers like you. Our Premium Courses feature over 320+ in-depth lessons covering everything from fundamental mixing techniques to advanced production strategies. Additionally, our Top-Tier Sample & Preset packs are crafted to inspire your creativity and enhance your projects!
Start your free trial now and take a significant step forward in your music production journey.


